DIY Pinch-Pleat Curtain Instructions from Duvet Covers
/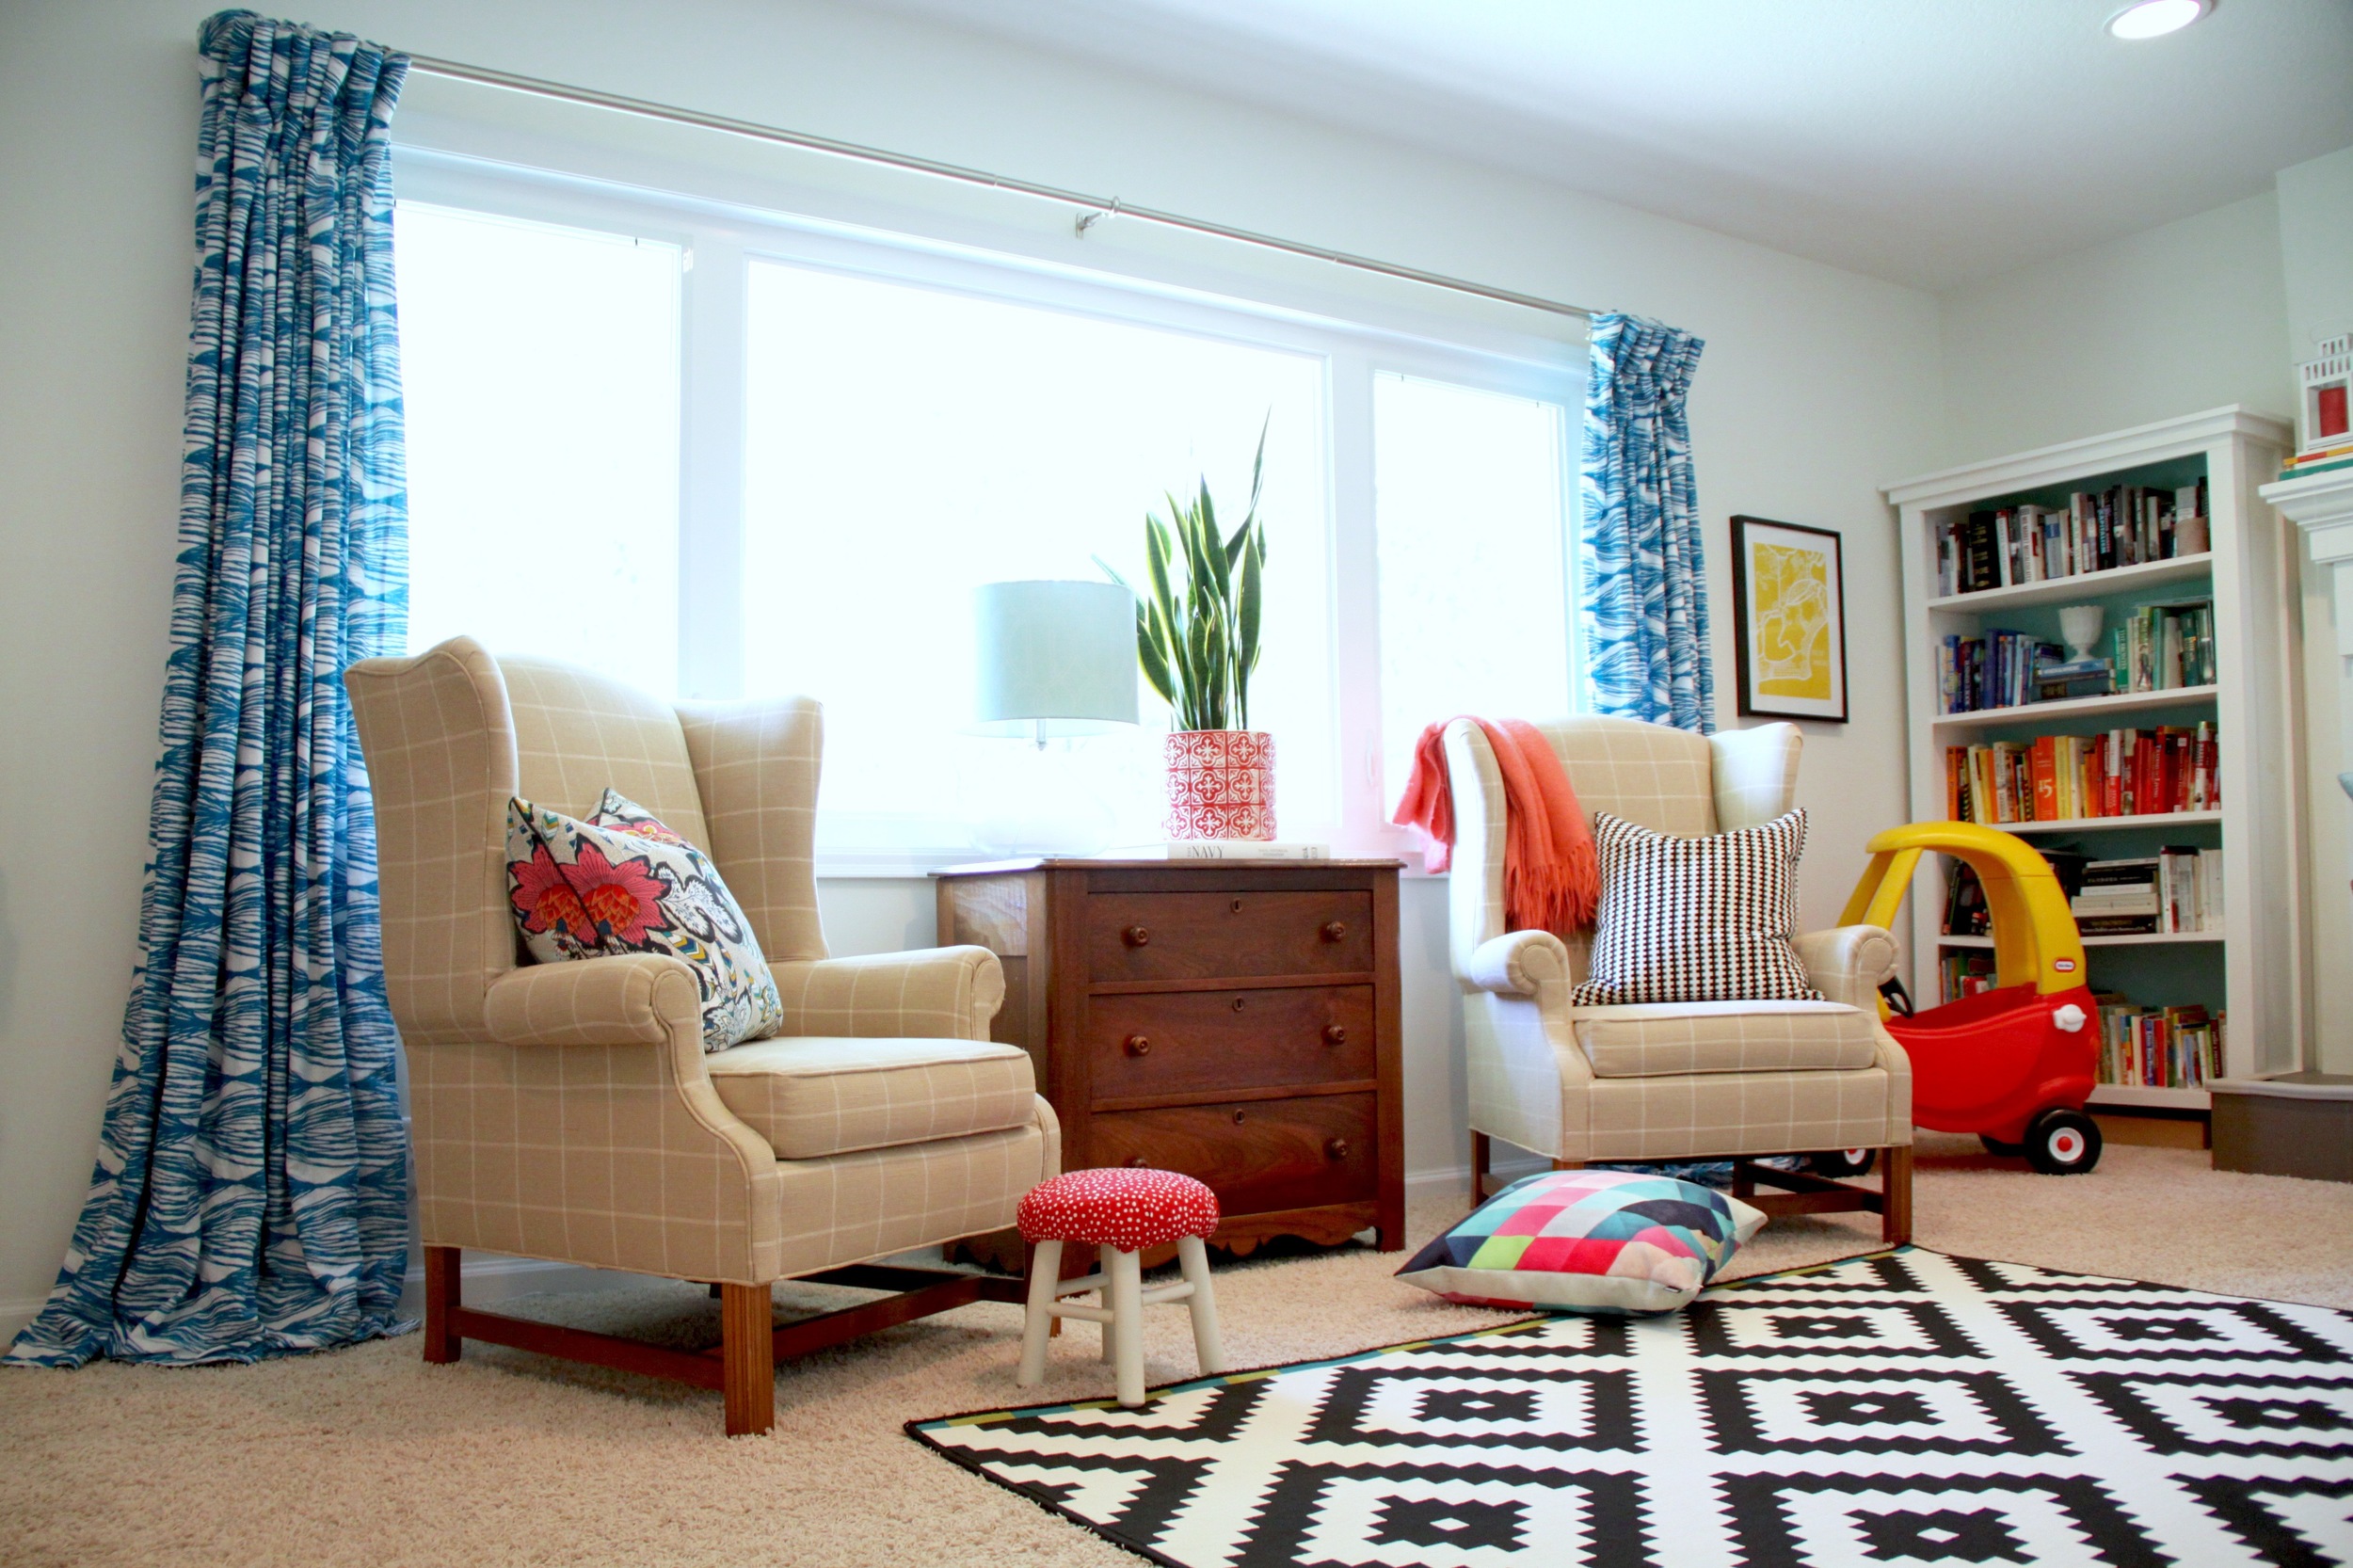
Does anyone else find window treatments to be incredibly challenging? (The fact they are called “treatments" seems like a tip-off that we are in for trouble.) Custom options are very expensive, and ready-made options are limited, especially when you have a large window to cover.
Our living room window is 10 feet wide. I knew I wanted curtains, but it was going to take a lot of fabric to make my own. If I bought ready-made panels, I would need to sew together two for each side, driving up the costs. What to do?
One of my most popular posts (and Pinterest pins) was from 2011 when I created DIY pinch-pleat curtains from tablecloths. I am no expert seamstress, so tablecloths—which are already hemmed!—worked nicely for some awesomely easy pinch-pleat curtains that looked good and functioned well.
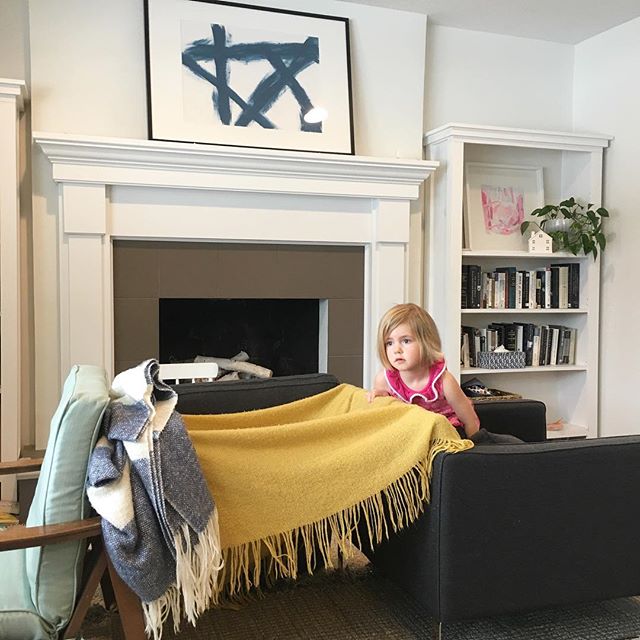
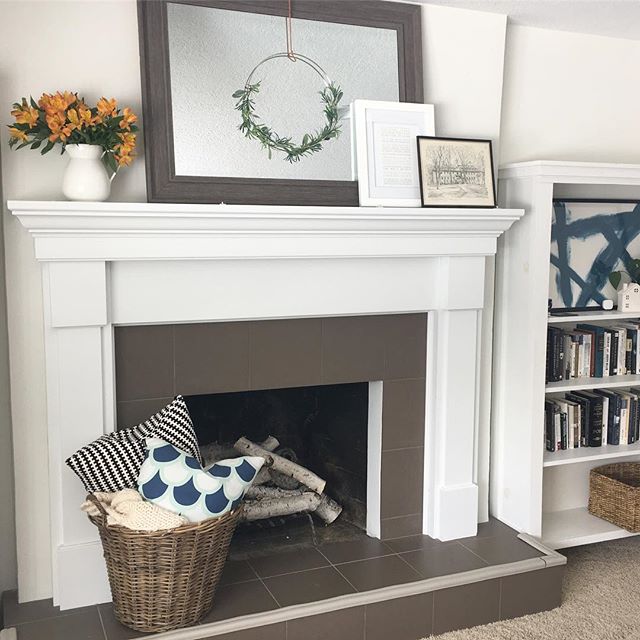
A while back, we refreshed our living room and I brought in some new colors. I was a bit tired of the pattern on the tablecloths and wanted something different to cover the windows.
So I returned to my DIY idea. But I found something even better than tablecloths.
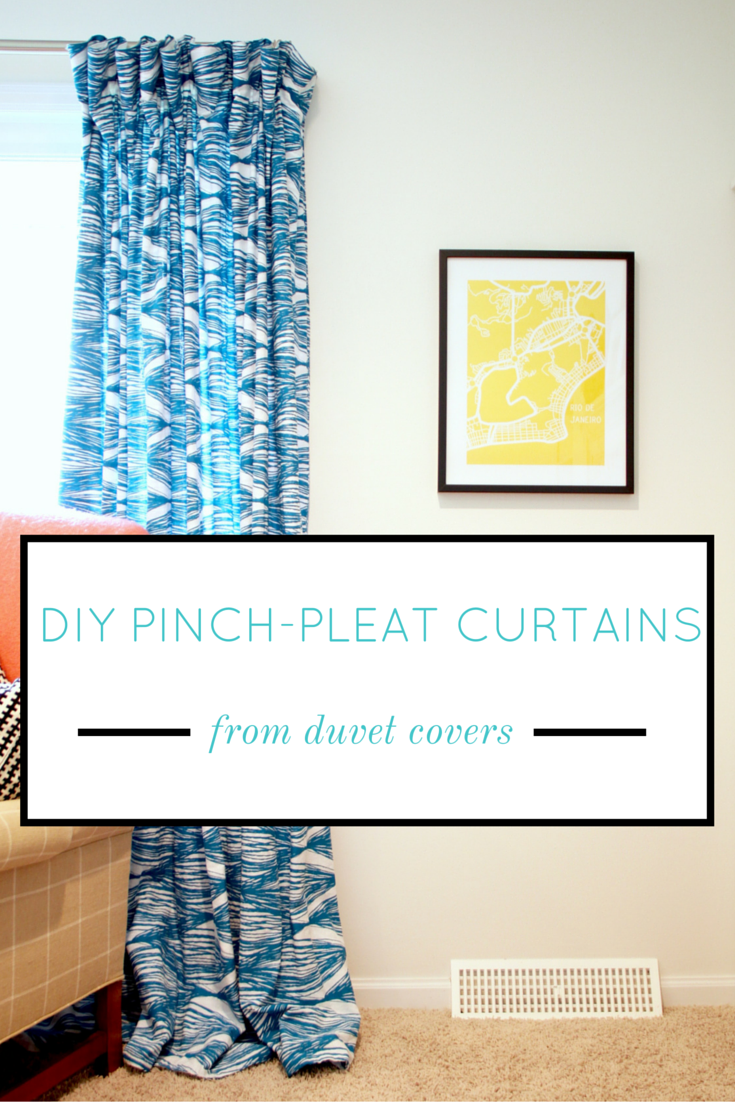
Yes—duvet covers! Why are they better than tablecloths? Because they are two-sided! When we pulled shut the tablecloth curtains, they didn’t look so great from the street. But duvet covers look great from inside and outside. Plus, there are tons of inexpensive options with really fun patterns (I’ll link to some later in the post).
A common length for curtains is 84”, so I was thrilled to find an IKEA queen-size duvet cover that was 86” long and 86” wide. Since my window is 120” wide, I could use one duvet cover for each side of the window (like two curtain panels) and still have plenty of fabric to allow for my pinch pleats. The duvet covers I used are no longer available, but I think they were maybe $40–50 each, perhaps even less. So to cover a large window for around $100 is a win in my book.
Here are the basic instructions for this project. For more information, please check out this post from Pretty Prudent, my own post on DIY pinch-pleat curtains from tablecloths, and this helpful video on how to insert your pleater hooks into your pinch-pleat tape.
First, a couple of tips:
:: I used two queen-size duvet covers from IKEA, one for each side of the window. Mine are no longer available, but check out this one, this one, and this one (with a slightly different pattern on the back) from IKEA and this one and this one from H&M Home. Such good prices!
:: If you haven’t hung your rod yet, you could go for king-size duvet covers and hang your rod even higher (closer to the ceiling) for more drama.
:: Pinch-pleat curtains require more fabric width-wise than other types of curtains. You’ll need the fabric to be significantly wider than the window. For example, my window is 120” but I had 172” of fabric to cover it. So keep that in mind as you determine the width of your window and the width you'll need for your duvet covers.
:: Based on the dimensions of your window and the height of your curtain rod, you might want to use your duvet covers sideways. If so, choose a pattern that would work well sideways. Some patterns would look strange sideways, like this one.
:: When you are looking for a duvet cover, check out how it closes at the bottom (the part where you insert your duvet). Mine had button closures, and it was really simple to just pin it and sew it shut. Some duvets have snaps and some have ties. Just something to consider.
Here we go!
Materials:
—Duvet covers
—Sewing supplies (Machine, thread, pins, etc.)
—Pinch-pleat tape (I found mine at Jo-Ann’s)
—Pleater hooks (Also from Jo-Ann’s)
—Curtain hardware, including rings or hooks (These will attach to your pleater hooks so you can hang your curtains)
—Two small nails (For returning the curtains to the wall at the ends)
Instructions:
1. Wash your duvet covers (for shrinking) and iron out the wrinkles so they lay flat.
2. Sew your duvet covers shut at the bottom (the part where you insert the duvet).
3. Find the tops of your duvet covers—the part that will be by the curtain rod. My queen duvet covers were square, but if yours is a king or a twin it won’t be. Make sure you find the tops! (See my tip above about considering the orientation of the fabric's pattern.)
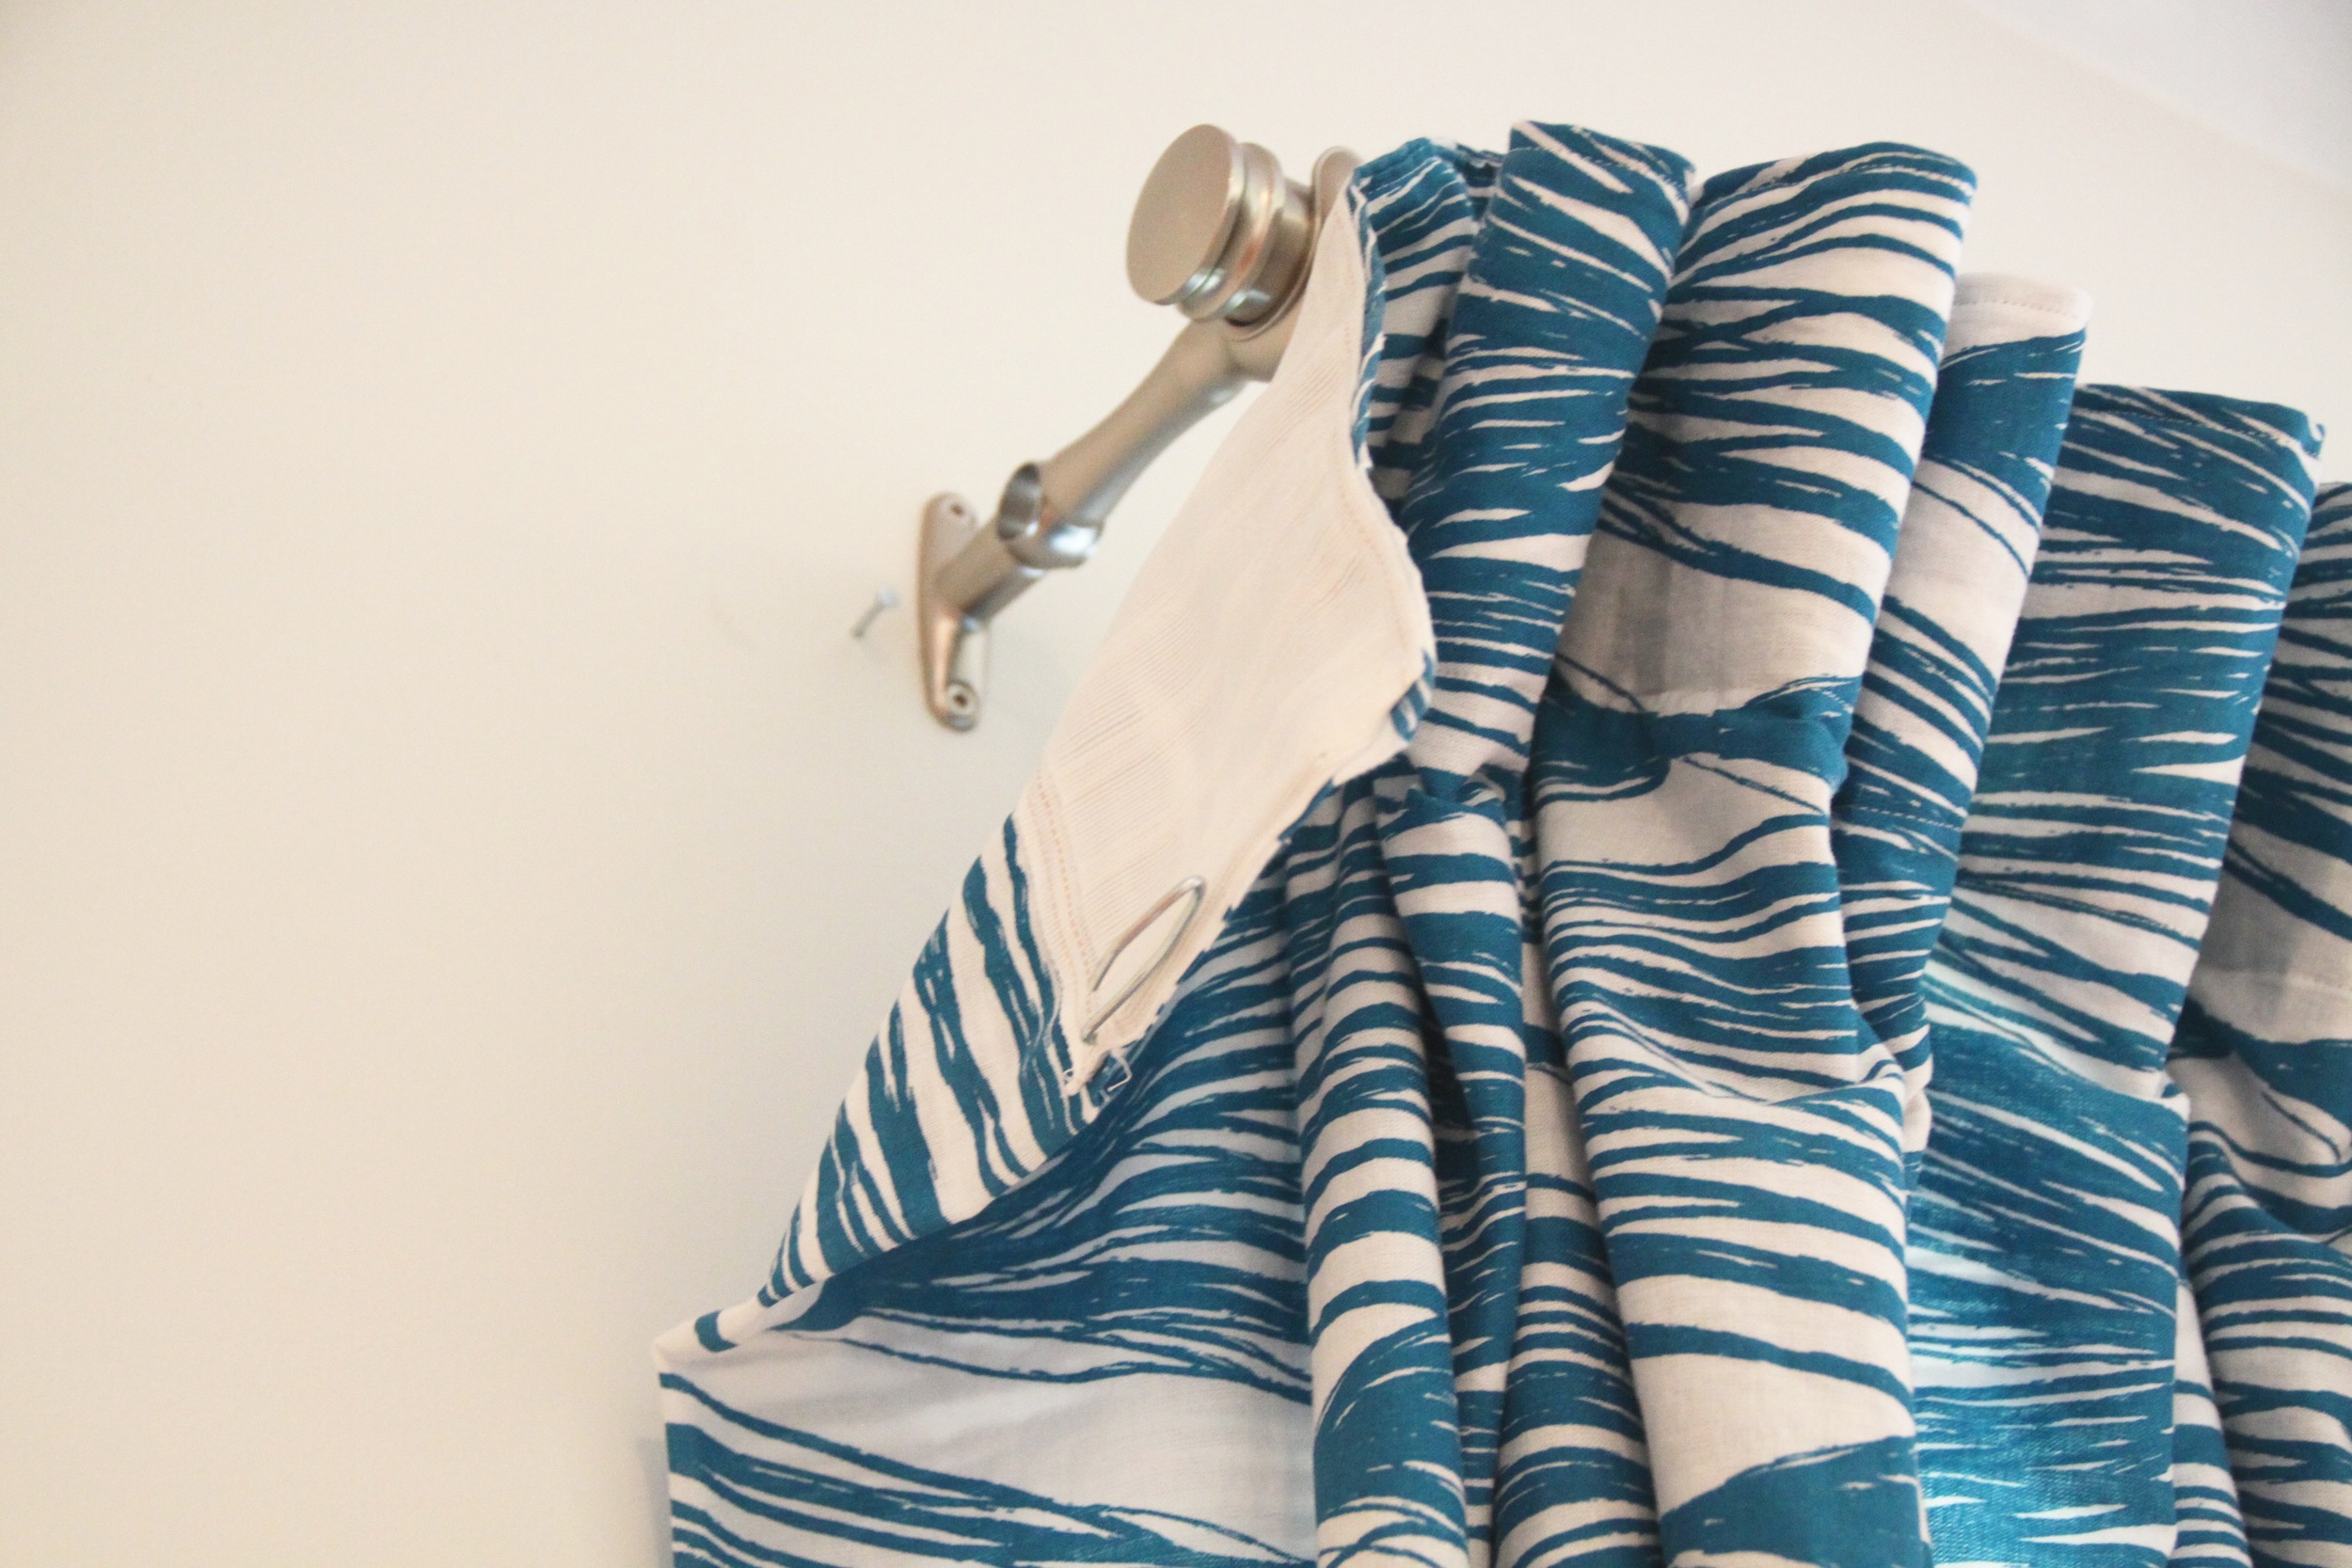
4. Pin on your pinch-pleat tape along the entire tops of the duvet covers. Make sure the pockets are facing outward.
5. Sew on your pinch-pleat tape. This is just nice straight lines—don’t be intimidated!
6. Insert the prongs of your pleater hooks. You can skip pockets in the pinch-pleat tape depending on how “deep” you want the pleats to be and how wide you wanted the finished curtains to be. Here's a link again to a video showing how to insert your pleater hooks into your pinch-pleat tape. Don't forget to leave a little space at the end for your return back to the wall. I tapped a little nail into the wall and used a plain pleater hook (that was included in the package) to attach the curtains to the nail. This gives your curtains a really tidy look from the side—here is what it looks like (but I'm getting a bit ahead of myself):

7. Attach the hook part of your pleater hooks to your curtain rings or hooks. You might need to adjust your pinch pleats to space them out more or less. Honestly, it took me a few times to get the spacing right, so don’t be discouraged if it takes you a few tries, too.
Okay, what did I miss? Have any questions for me? Need a second opinion on whether a certain duvet cover will work for this project? I'd love to hear from you. You can find me on Instagram (@modernchemistryathome), Pinterest (ModernChemistry), Twitter (@ModernChemist), or shoot me an email (use the icon below). Seeing your projects and connecting with you about your homes would make me so happy!