DIY MONOGRAMMED HANKIES FOR MY HUSBAND
/
i don't know exactly when it started, but ben has been keeping handkerchiefs in his back pocket. it can be difficult to find gifts for him, so when i saw this design*sponge post, i wanted to do the same for ben. i planned to make them right away and give them to him for his birthday in october...but we were knee-deep in renovations and i never got the chance to make them. same thing for christmas. alas!
but there was hope! did i mention that my parents gave me a sewing machine for christmas? and did i mention that my mom showed me how to use it to make simple monograms? i was all set to make ben a late christmas present!
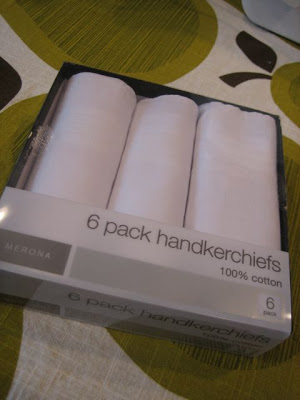
i started with a six-pack of white hankies from target. (i washed them before i started so the fabric wouldn't pucker when they shrunk.) i think i bought these back in september. i had high hopes to finish this project right away, but like so many other things, it just slipped away!

i practiced a bit on some old fabric.
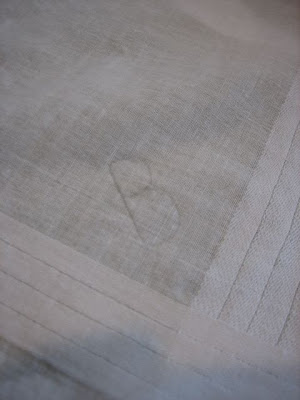
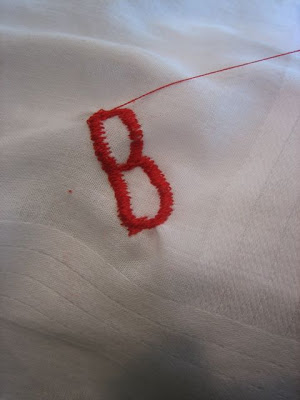
after a few trial runs, i started to get the hang of it. in the corner of the first hankie, i freehanded a capital B in pencil.

then i set the stitch. i used a zig-zag stitch that wasn't too wide.
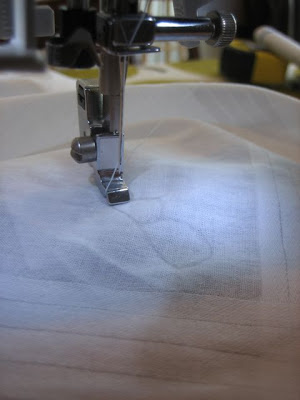
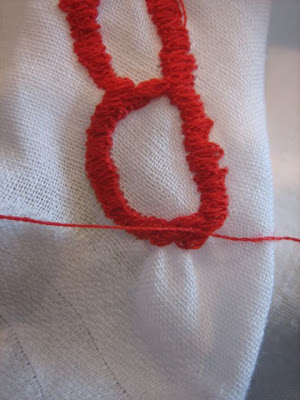
here we go! i took the foot off of the machine, so i was moving the fabric under the needle to make the letter. it would have been better to use an embroidery hoop to keep the fabric taut, but i couldn't get it under the arm of the machine! oh well.
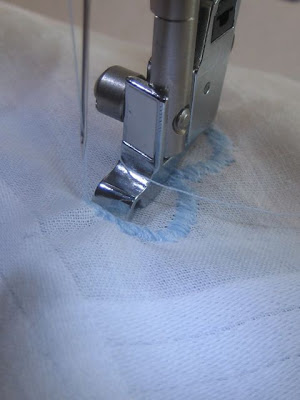
stitching...i just followed the pencil line. i had to go over it two or three times to get the stitch "thick" enough.
and i had my monogram! to keep it from unraveling, i took a needle and passed the top thread underneath to the bottom...
then i hand tied each one in a square knot.
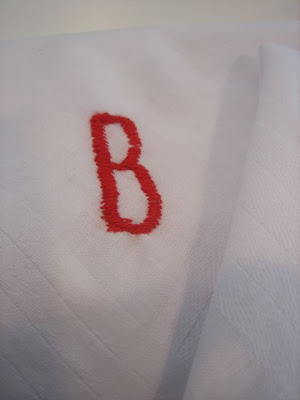
voila!
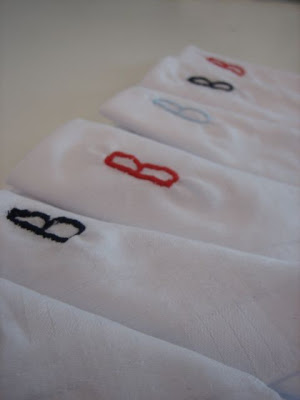
a set of six hankies for my husband: two each in red, navy, and baby blue. he uses them a lot!
it was a super fun project. there are a few things i would do differently next time, though. first, i would make the monogram more serif-y, so that the B didn't look so much like an 8! and second, i would probably just back stitch the end, and then snip the threads (instead of hand-tying each one). that would be enough to keep it from unraveling. but live and learn! maybe i'll try this on something else next...