How to Make a DIY Pea Gravel Patio
/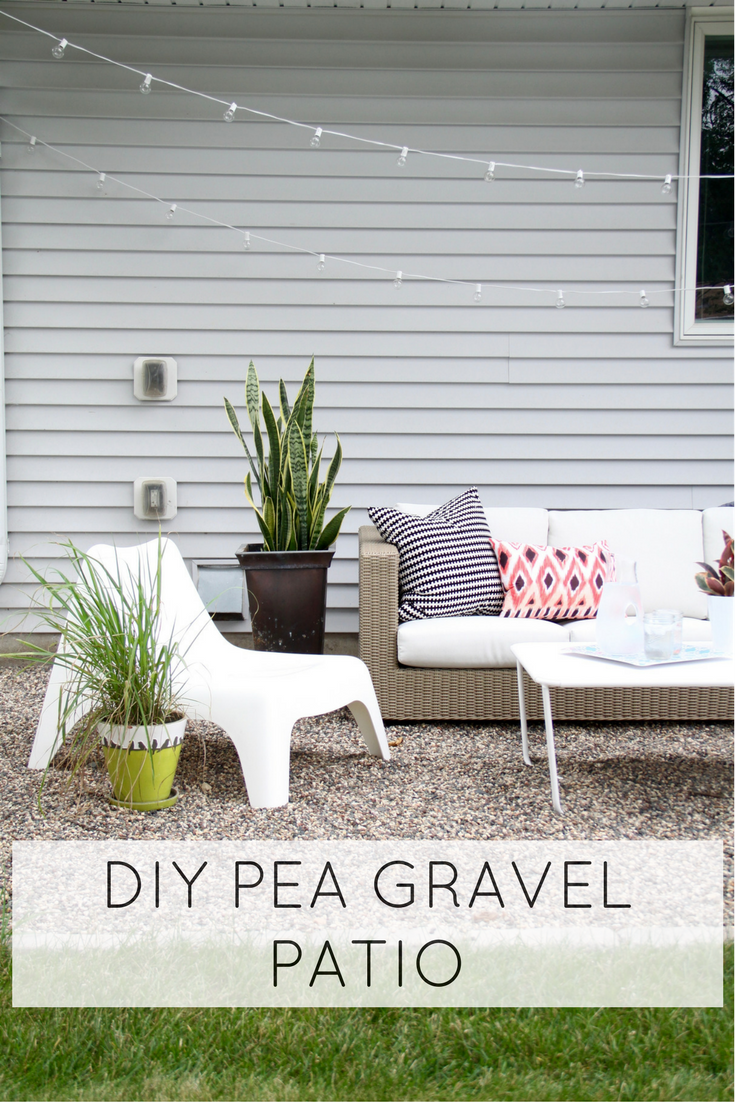
In my last post, I shared some shots of our DIY pea gravel patio. Here's the nitty gritty on how we transformed it—and how you can, too, if you'd like to tackle such a project! I'm even going to talk numbers, because I want you to see how budget-friendly this project is.
As with most things around here, the conception, planning, and execution took some time. My long-term goal was to use this space as a lounge area, which is why we installed a leftover fence panel when we were putting up our privacy fence on the other side of the yard in September 2015.
In spring of 2016, I got four bids for a poured concrete patio here. They ranged from about $1600 to over $3000 depending on stamping, staining, etc. Of course, the really pretty stamped, stained patios are the pricey ones. Such is life, right? 😉
I mulled it over, but ultimately we just didn't want to spend that much on this space. I remembered a pea gravel patio I had seen in Better Homes & Gardens and I started to do some research. I pulled together a plan and a budget and presented it to Ben. He was on board. I am pretty sure this DIY pea gravel patio cost less than $250! (It could have been even less, but I ordered too much pea gravel. Thankfully, I sold the extra on Craigslist and made back a little money.)
Here's what we did.
Supplies
- Shovel
- Rake
- Landscape fabric
- Landscape staples
- Rubber mallet
- Edging supplies (I used pavers, stakes and string for a straight line, a hand shovel, a level, and a little soil.)
- Pea gravel (Here is a handy calculator to figure out how much you'll need. I visited a few local landscape shops to make sure the color of the gravel was good. I ordered 3/8" pea gravel and had it delivered to our driveway.)
- Wheelbarrow
Process
1. Pick your spot and determine your borders.
I already had my spot determined using the fence panel and the house as walls to define the outdoor "room." There had previously been river rock in this area, which left a rough border in the ground. We had to fill in with a little bit of sod so that the new patio would line up with our existing cement slab. I used stakes and string to make a border for where my edging pavers would go.
If you have grass or other material in your patio location, you'll need to remove that and dig down a bit, depending on what you are using for edging and if you want your patio to be raised or not. Ours is roughly level with the grass, so the depth of the patio hole was roughly the same as the depth of the pavers I chose.
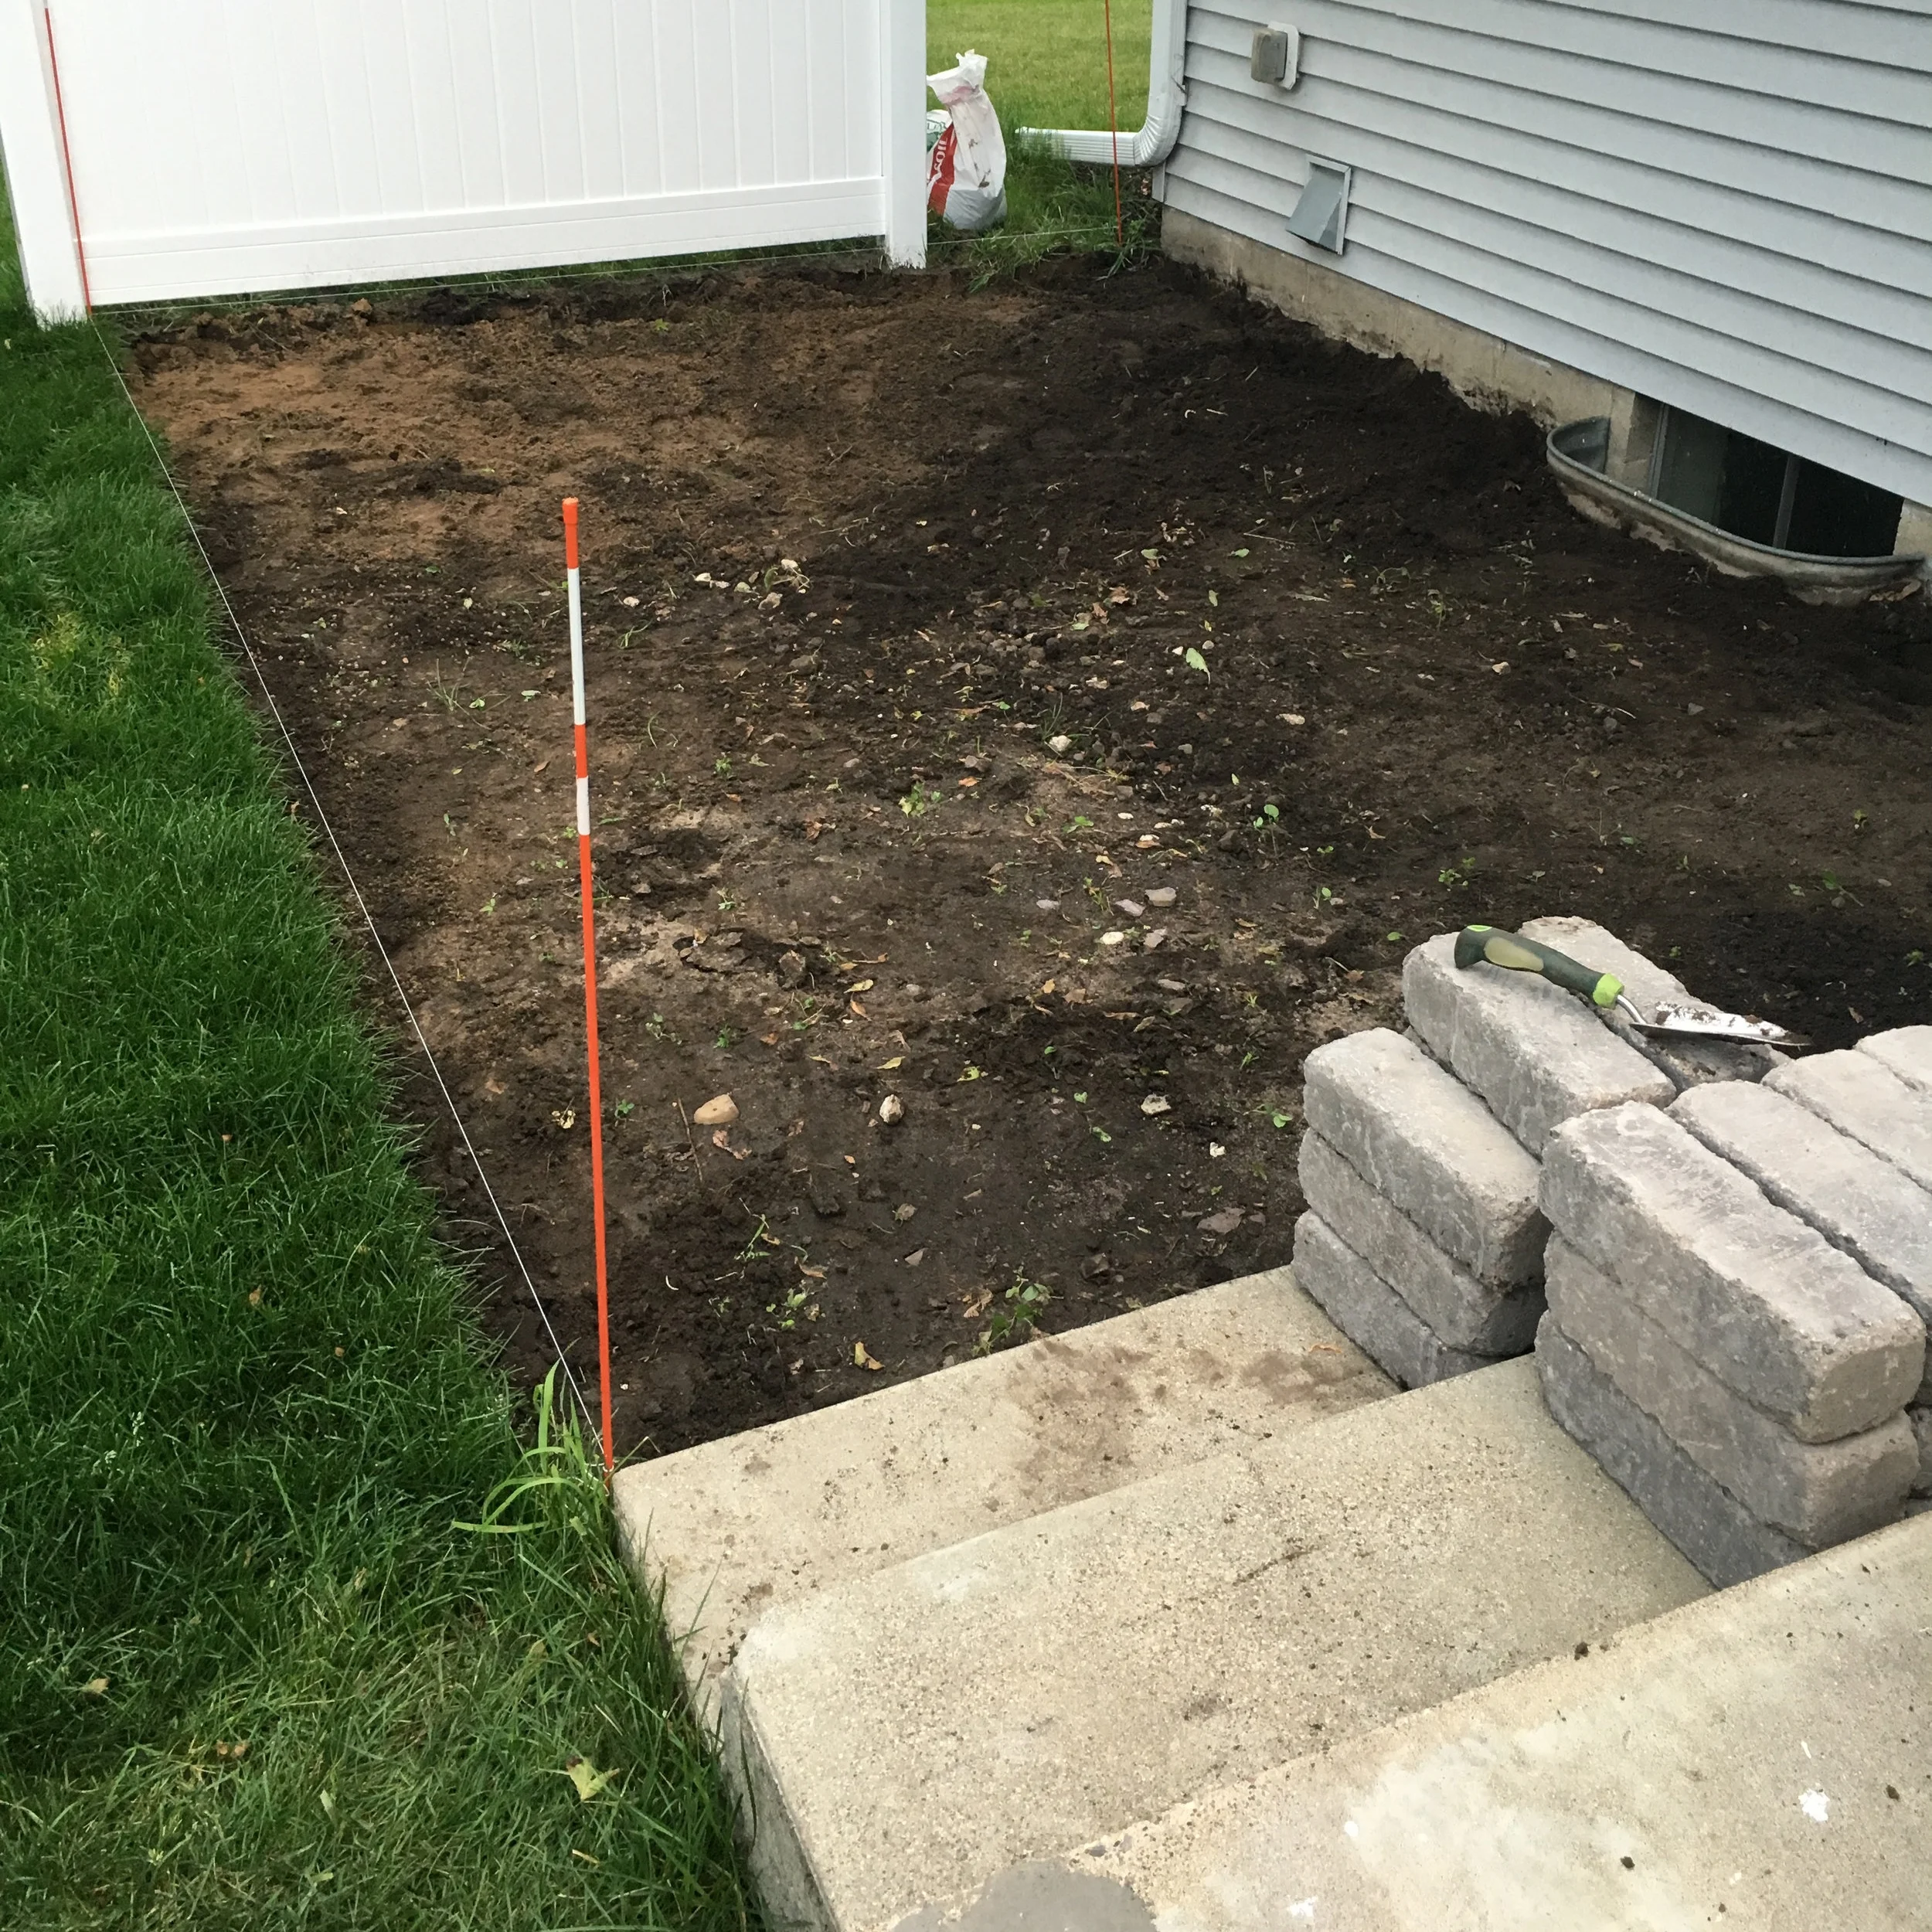
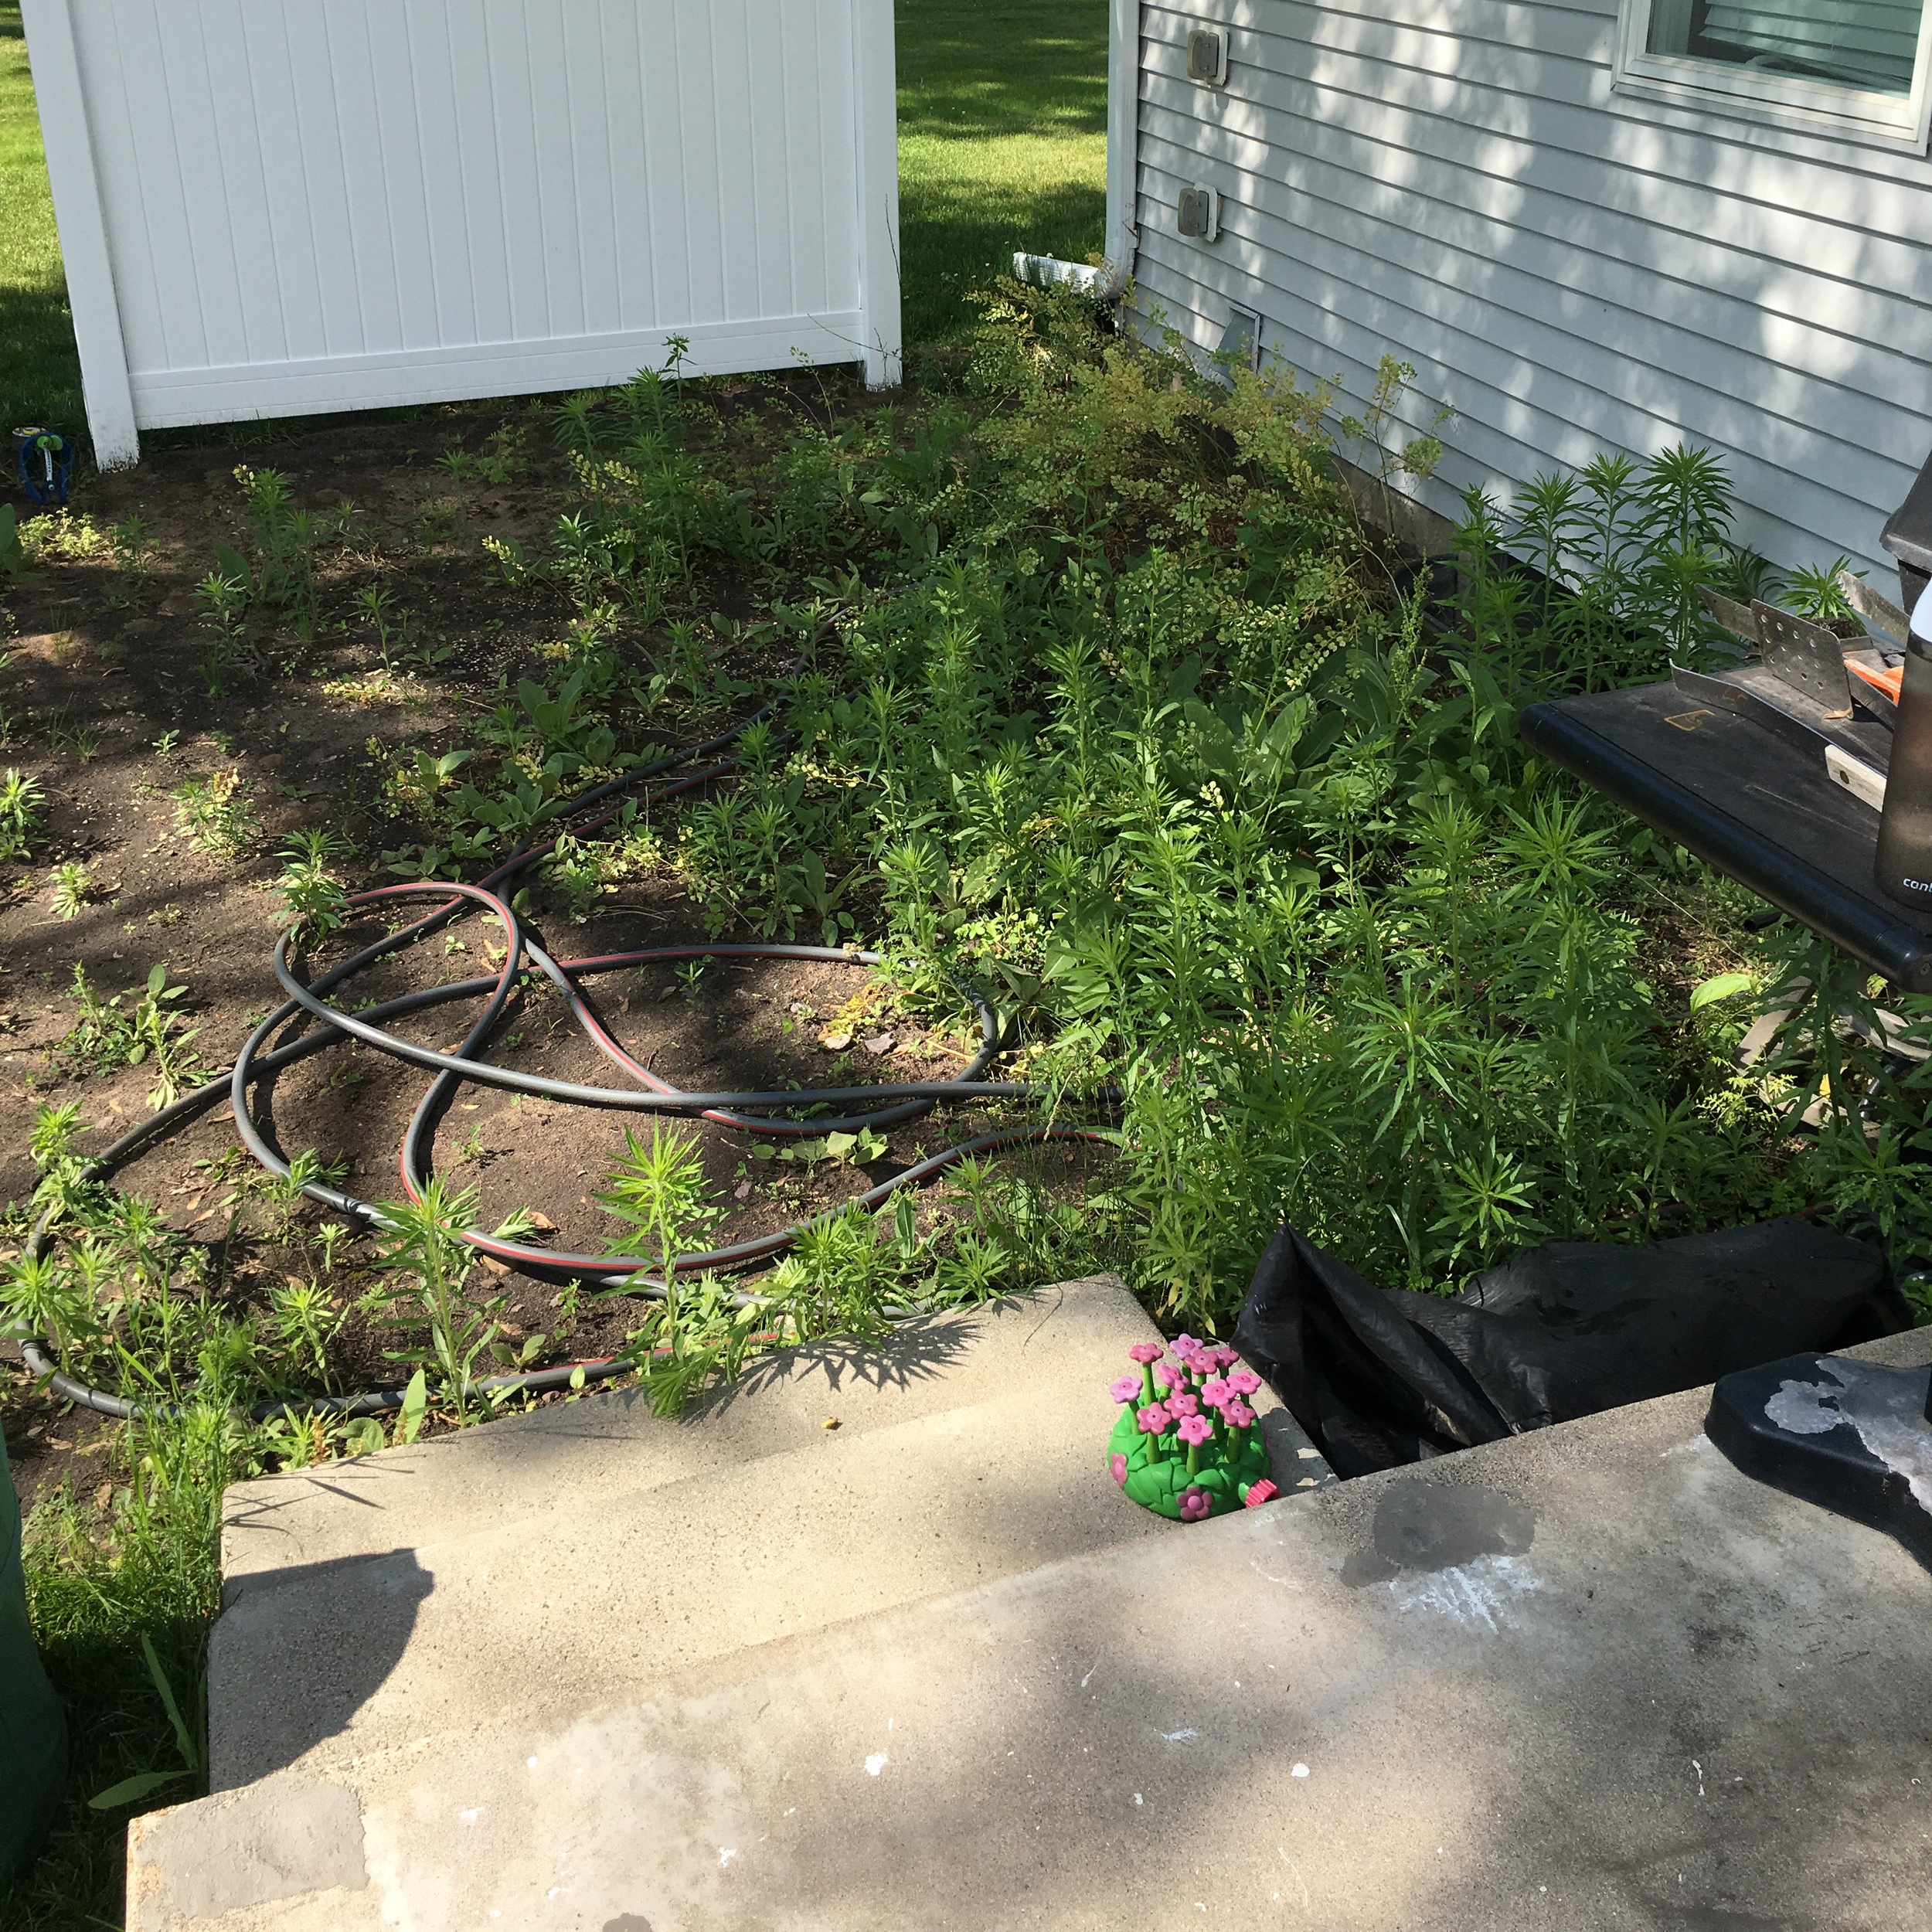
2. Prep the location.
I removed the big weeds and leveled the soil.
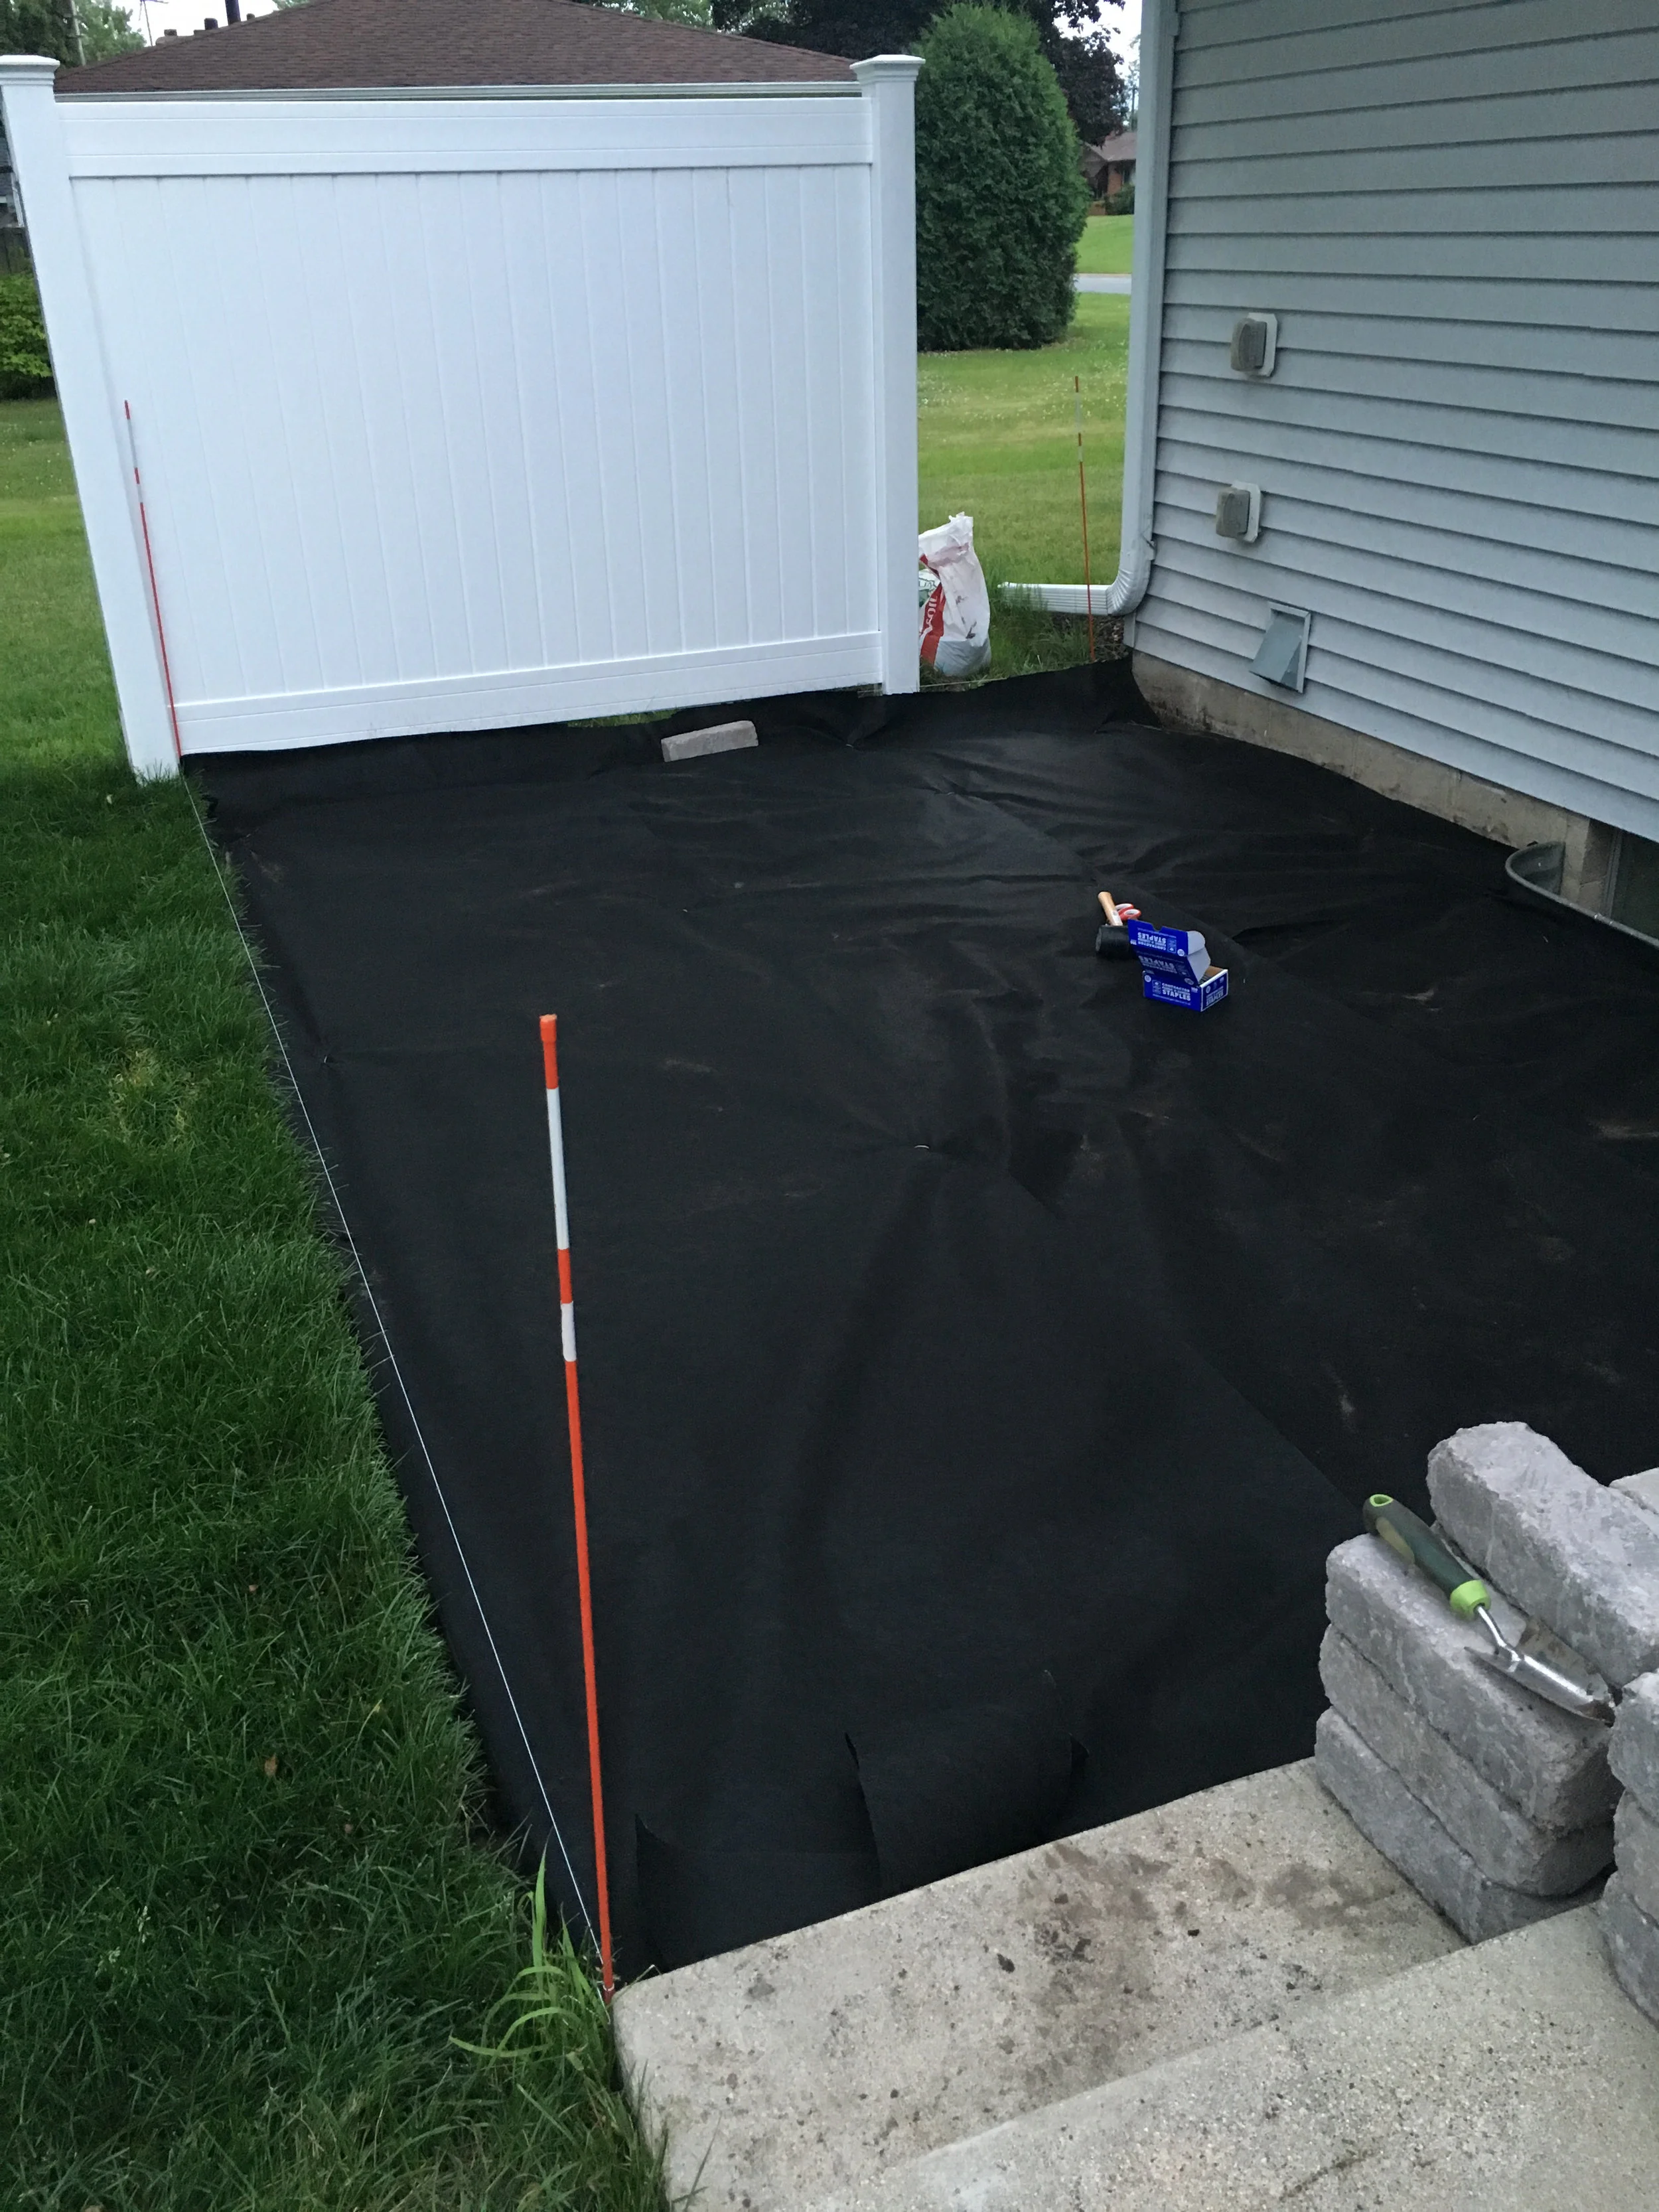
3. Lay down landscape fabric.
I used heavy-duty landscape fabric from Menards along with landscape staples, overlapping a lot and hammering in the staples with a rubber mallet. This will keep weeds from coming through.
4. Install your edging.
Using my string lines as guides, I installed my pavers to make the patio border. (I think I was 26 or 27 weeks pregnant at the time!) I checked for level and filled in with a little soil when things were a bit off. This was my first experience with true hardscaping and I found it to be really fun!
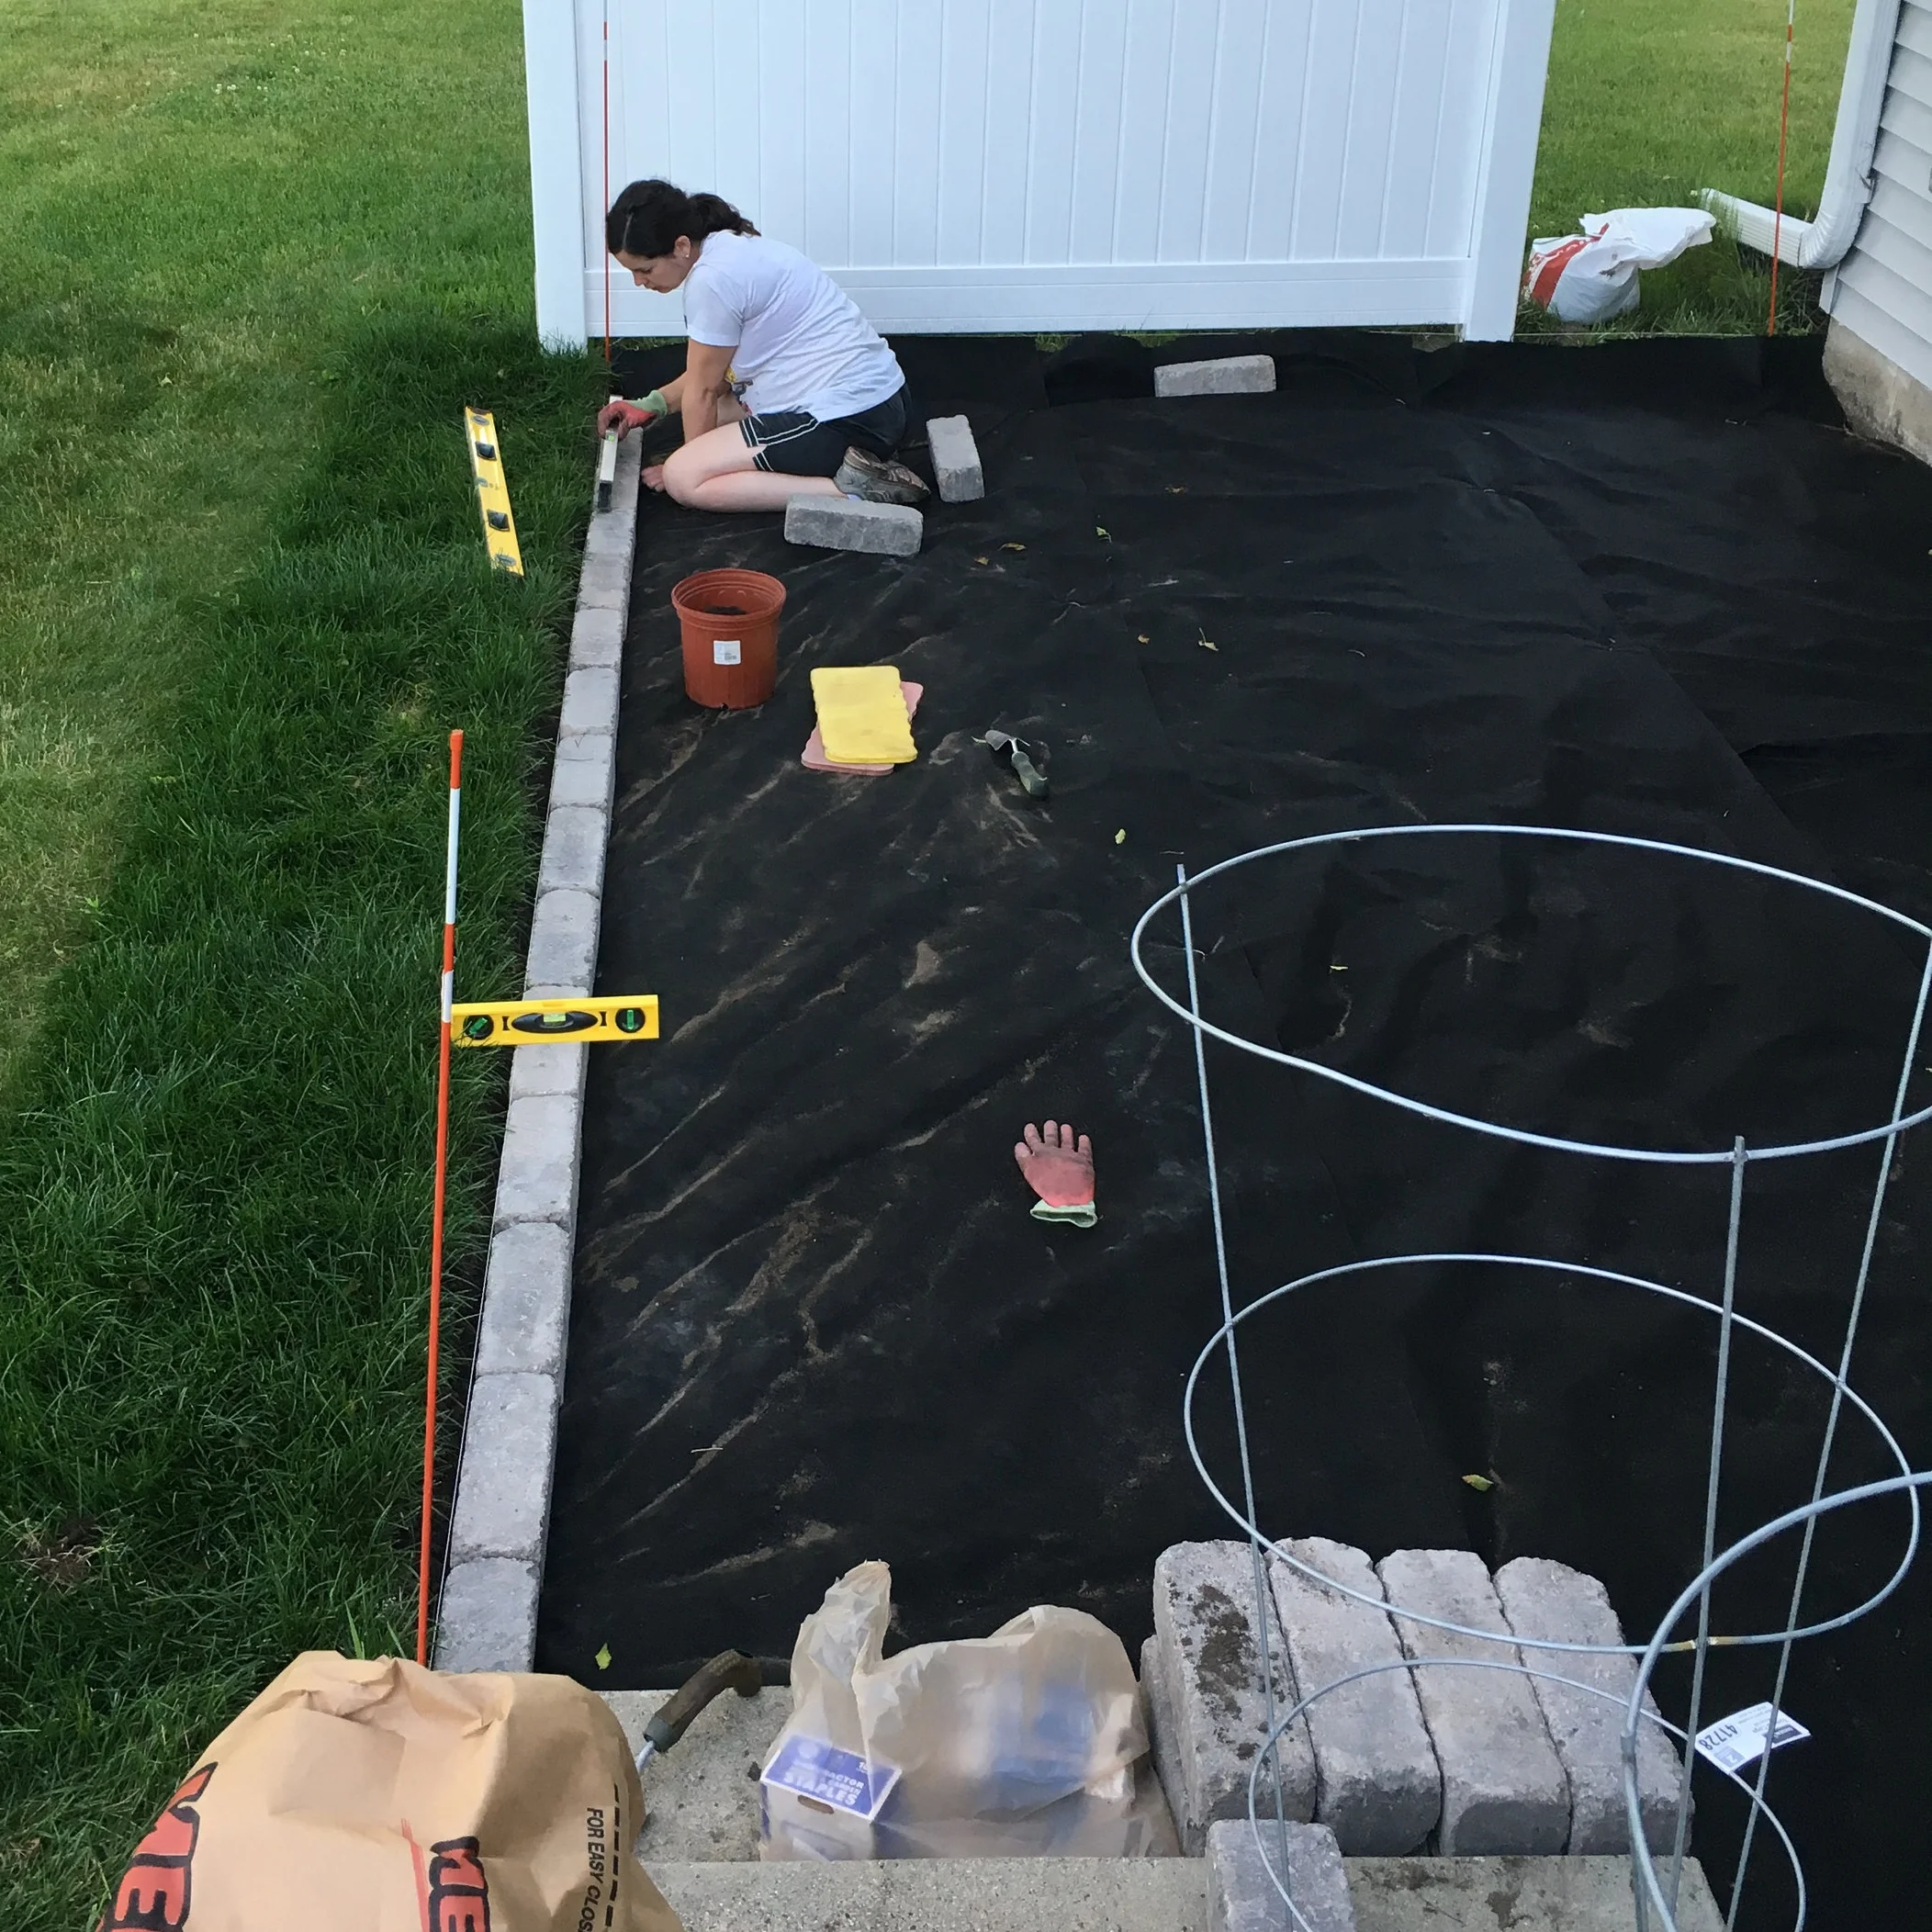
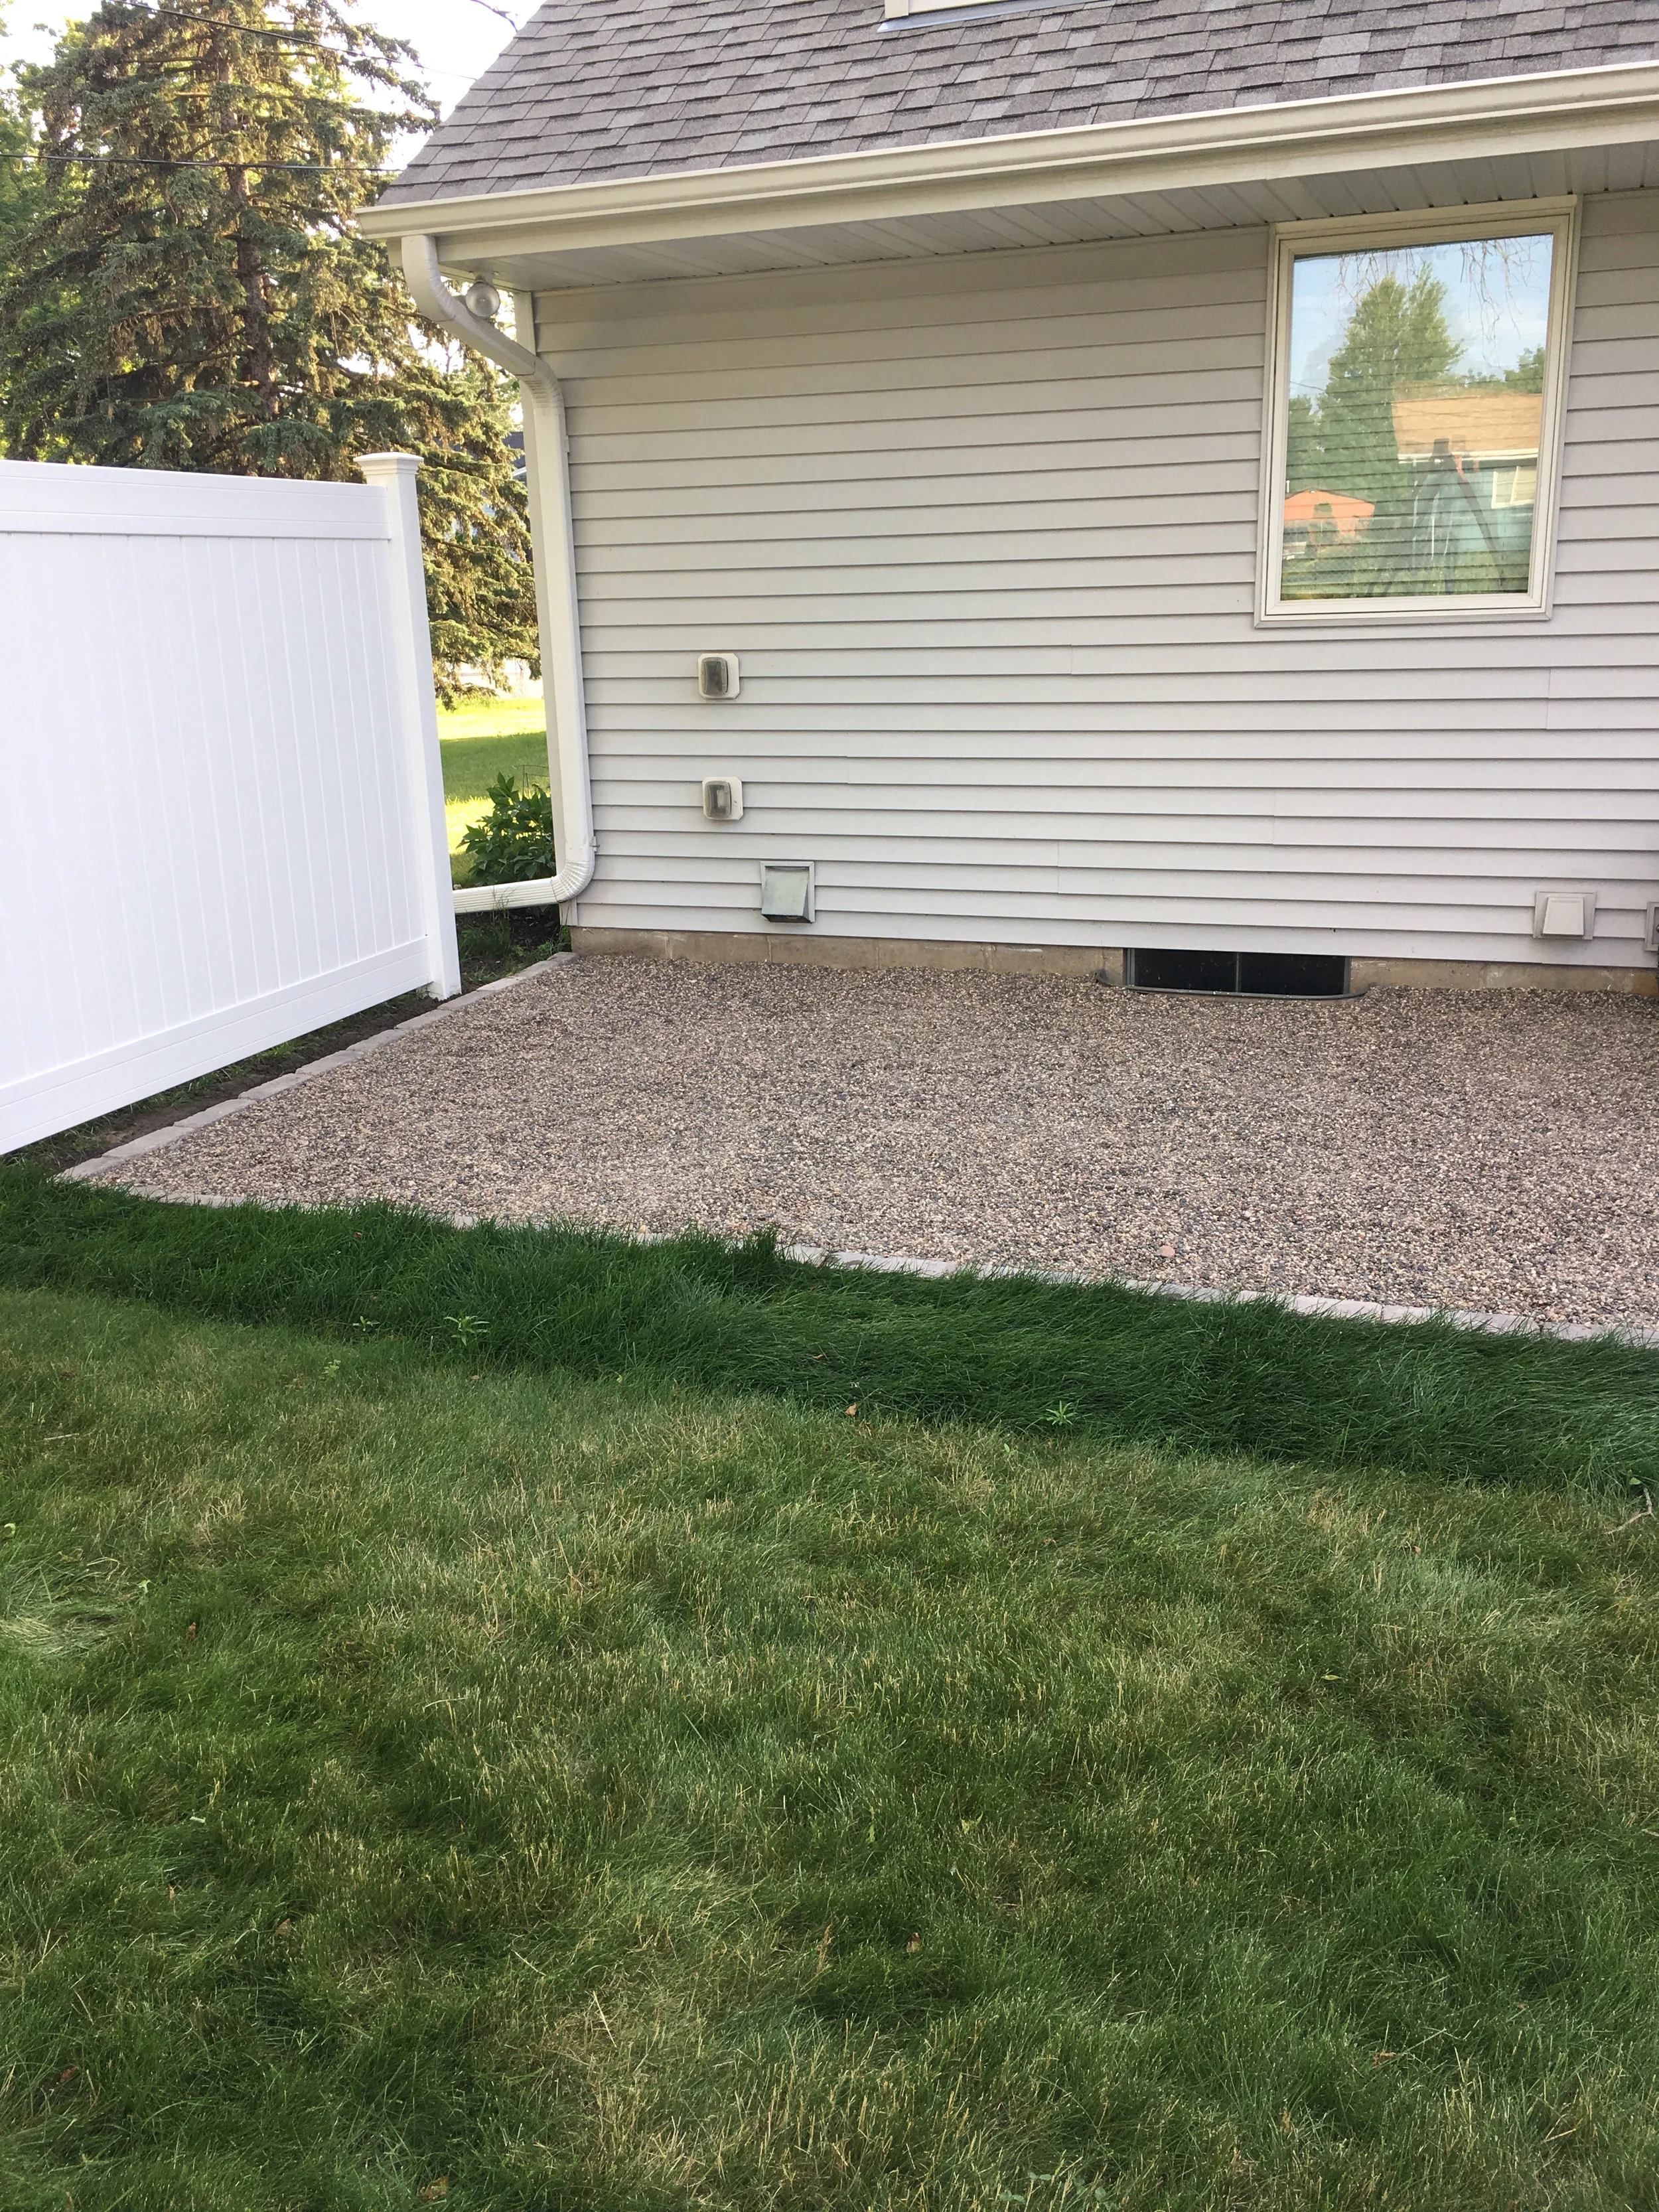
In this photo, you can see the fresh sod we put in. You'll also see that the fence panel doesn't line up exactly with the line of the patio, but again, oh well!
Completed edging!

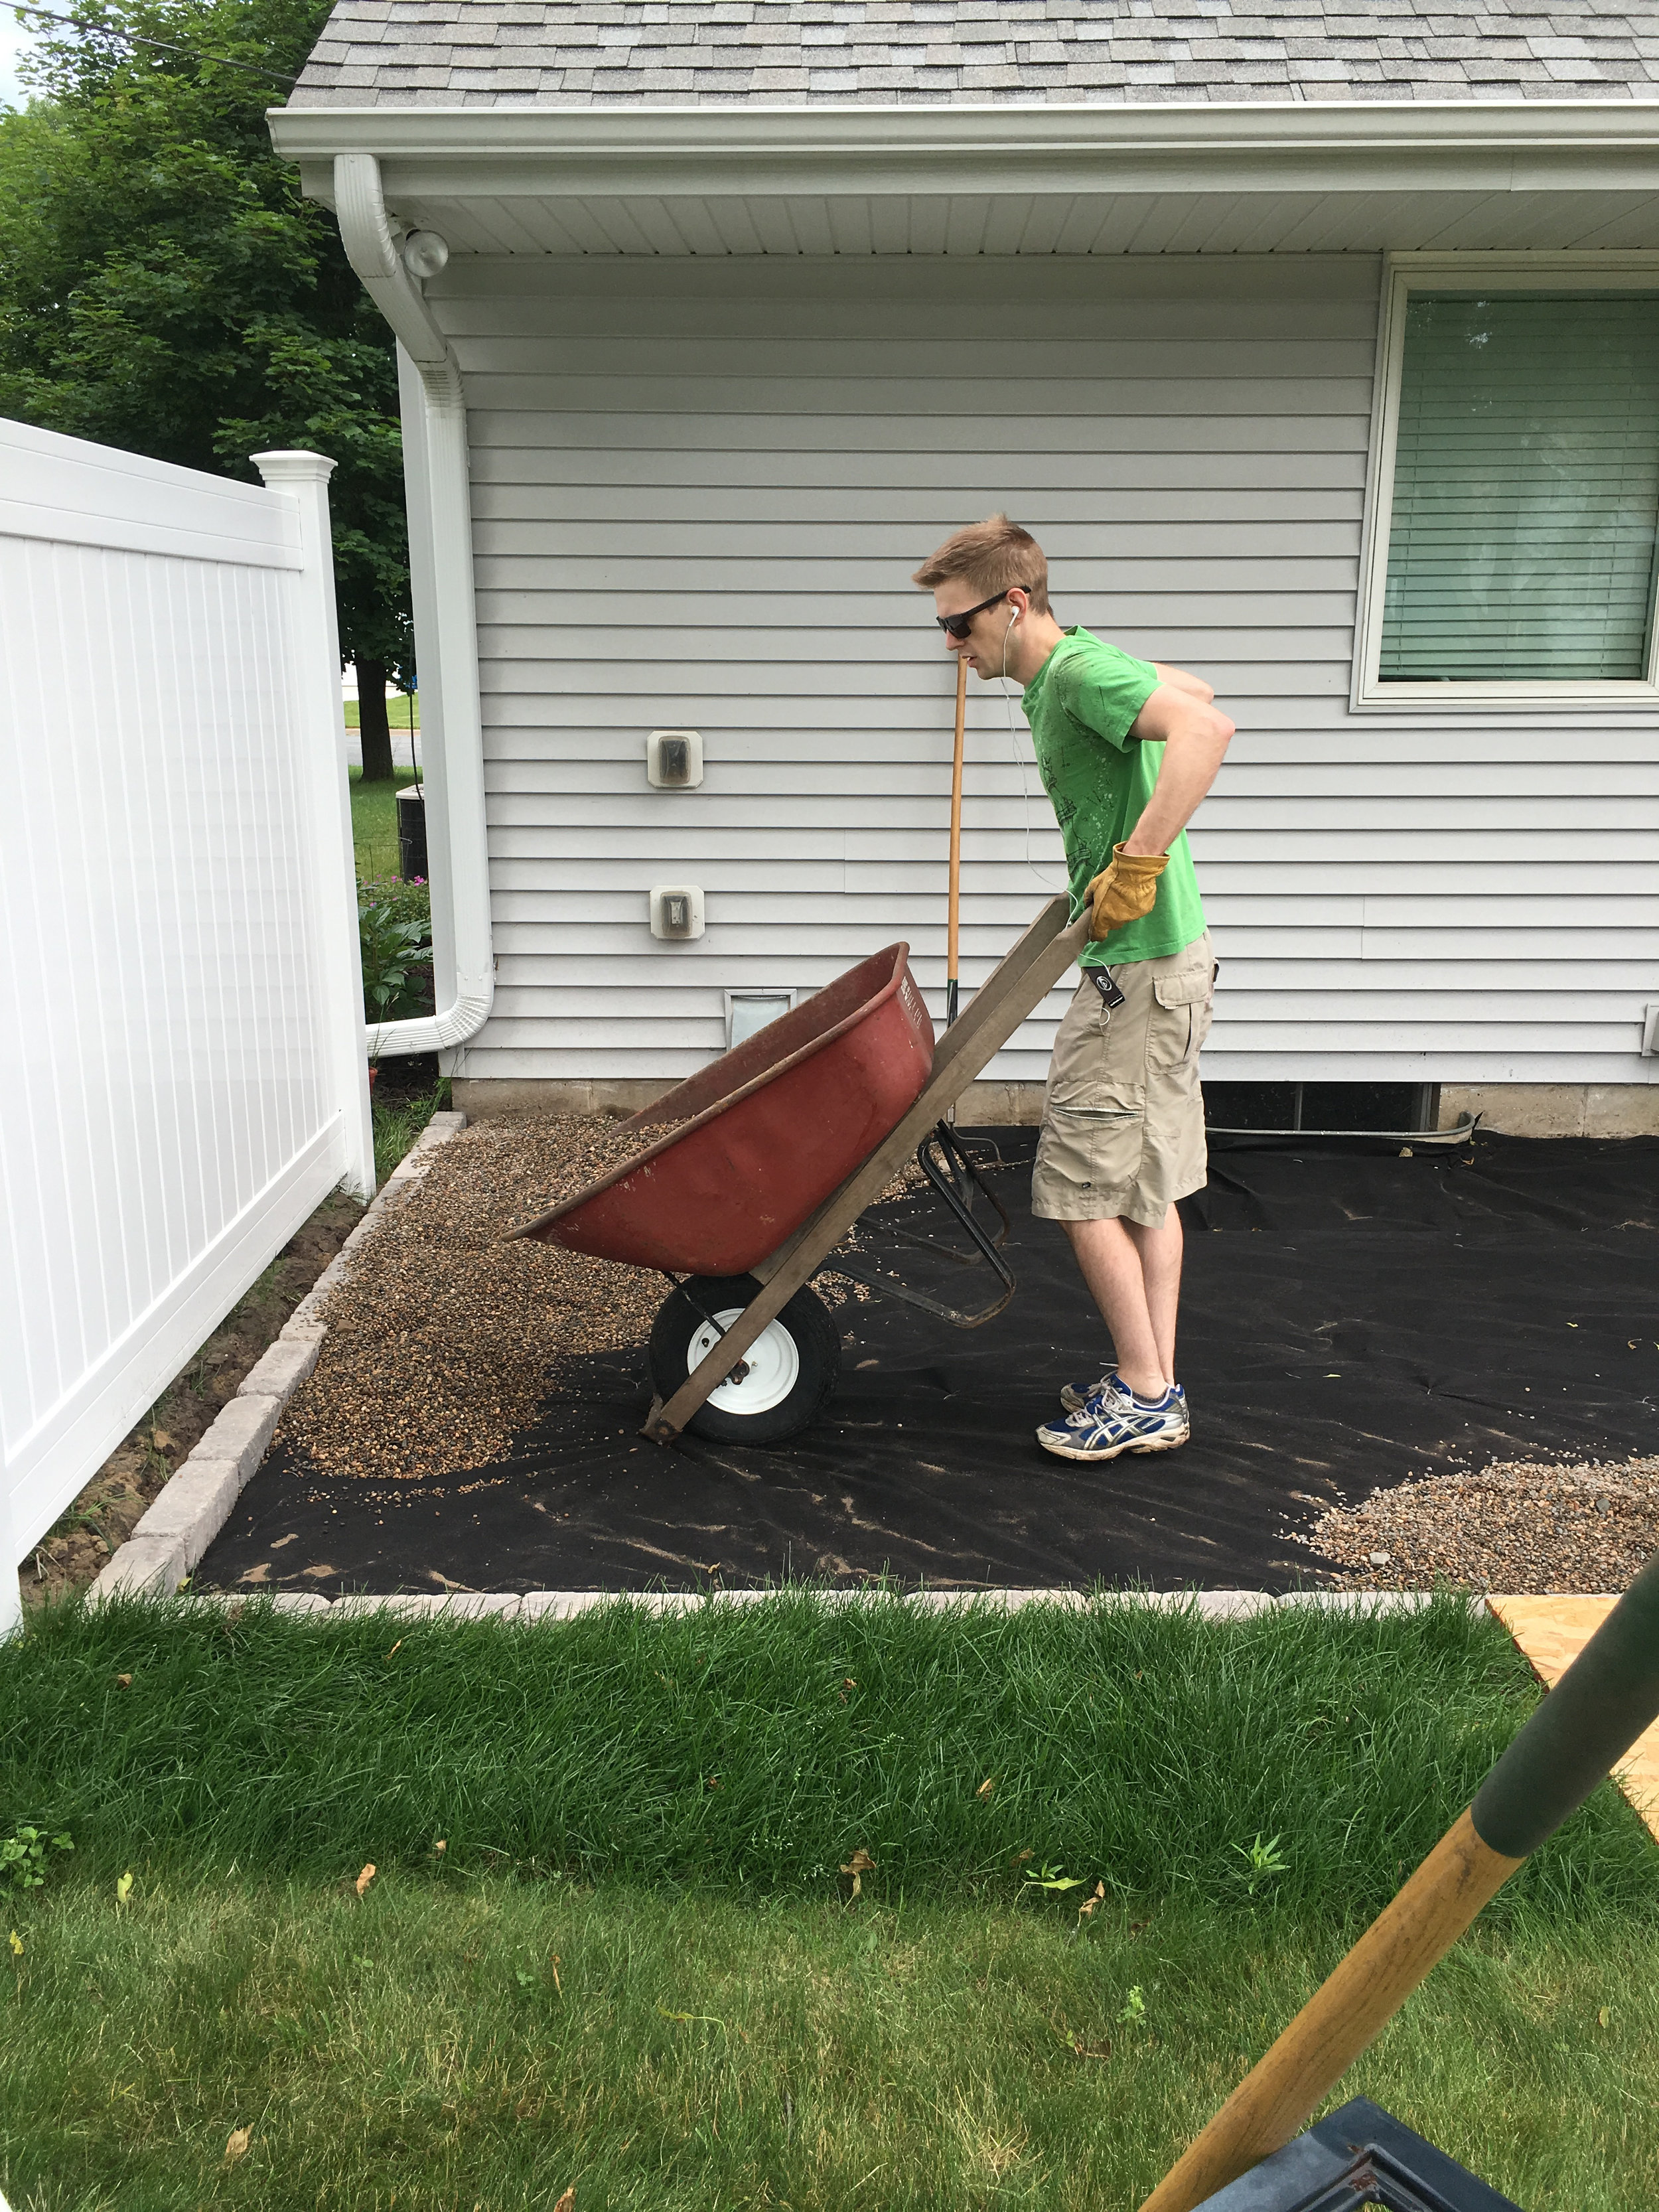
5. Install your pea gravel.
You are almost done! Ben wheeled the pea gravel loads from our driveway and I raked it level. You might want to spray it a few times to rinse down some of the dirt.
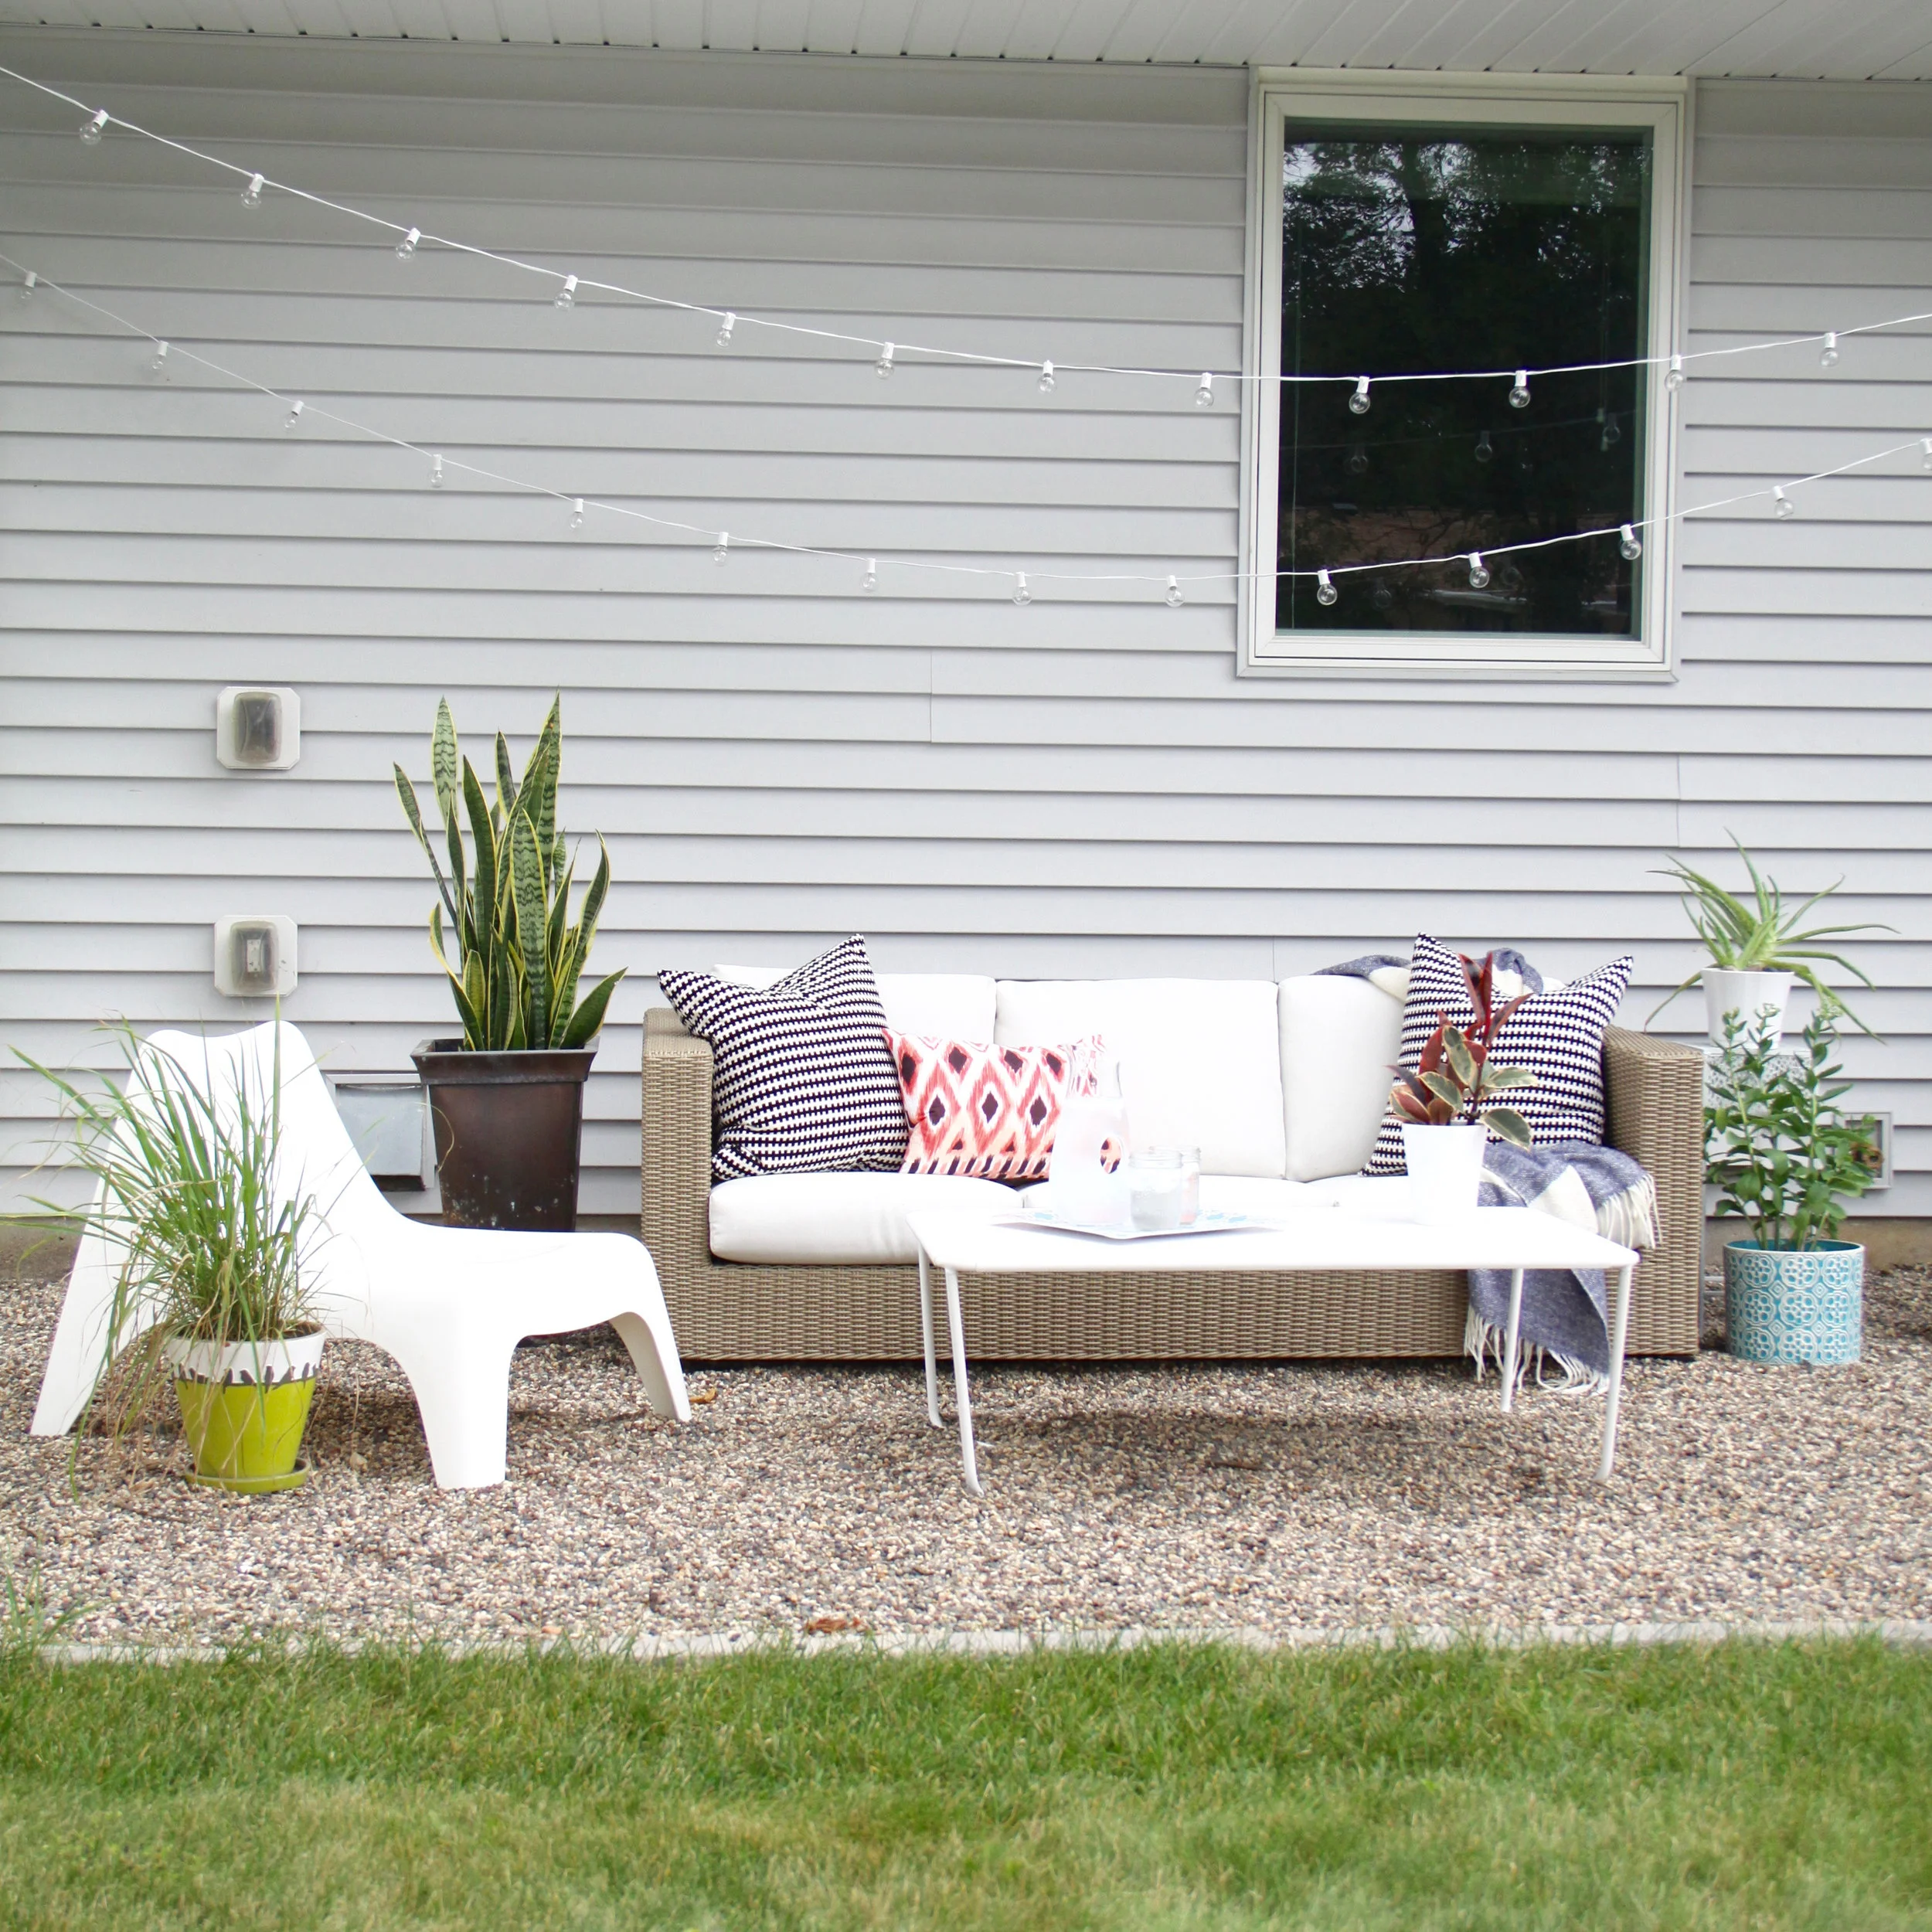
Now if you really want to follow my plans, you have to let it sit like this for almost a year before finishing it out with furniture and planters. 😉
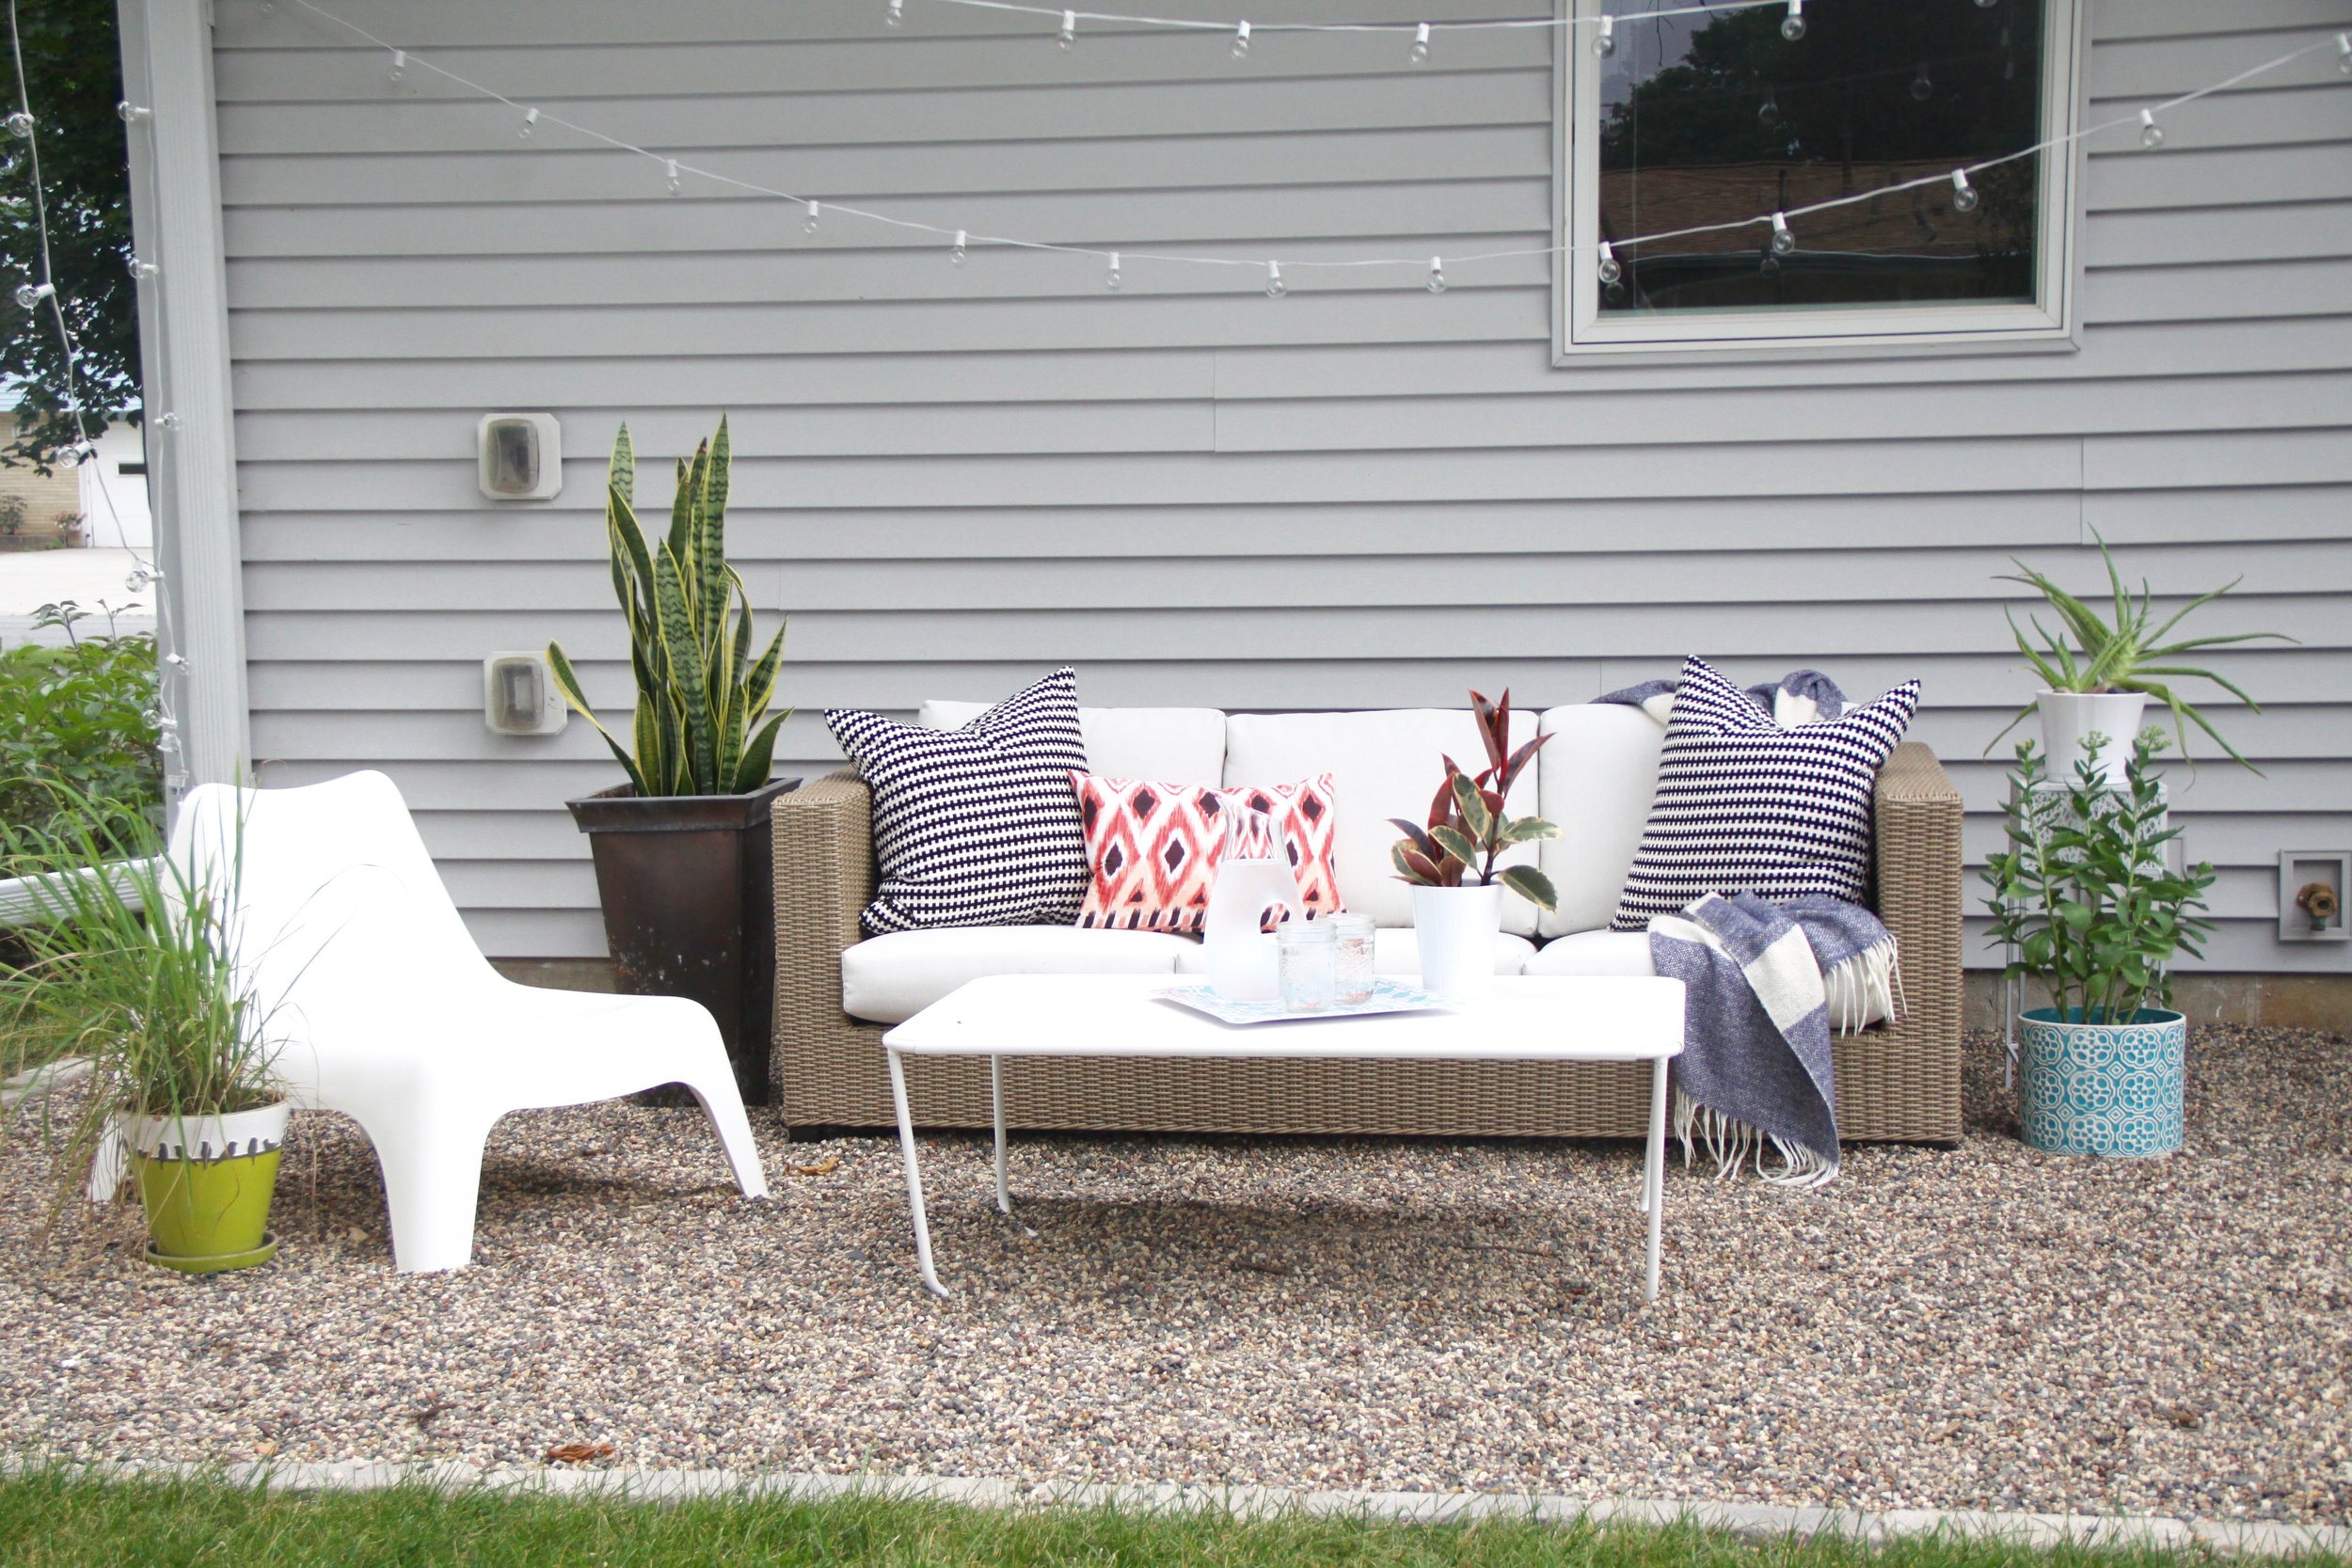
I say that jokingly, but isn't that the way it is? So much effort and money goes into finishing the actual structure of the space. Decorating is a whole different game! We often have to save up and plan for the furnishings, which takes more time, effort, and money. But it was so worth the wait. I love this spot.

In my opinion, pea gravel gives such a great texture and natural feel to an outdoor space. I like the almost crunchy feeling of walking in it. Another huge plus is that the kids enjoy sitting in it to play—we keep shovels and buckets on hand!
With some planning, a project like this could totally be knocked out in a weekend! Anyone up for it?